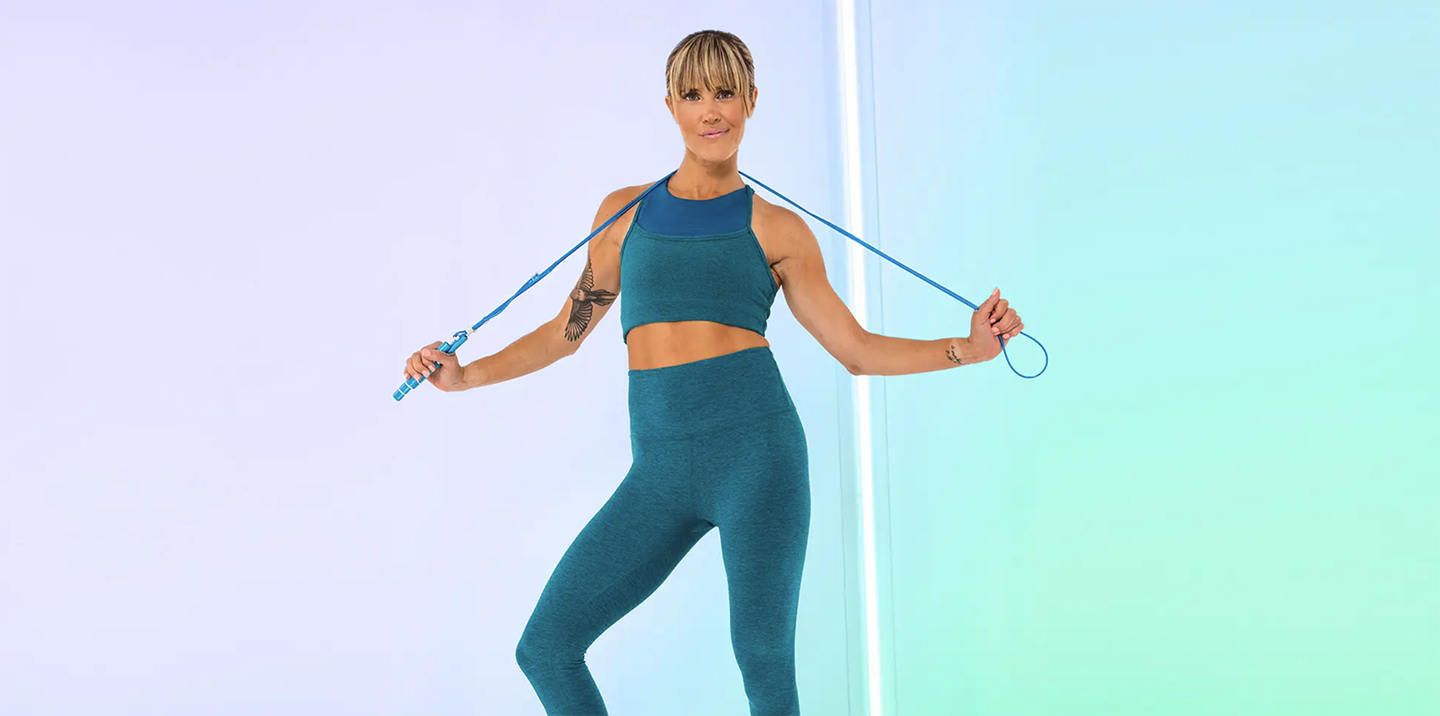
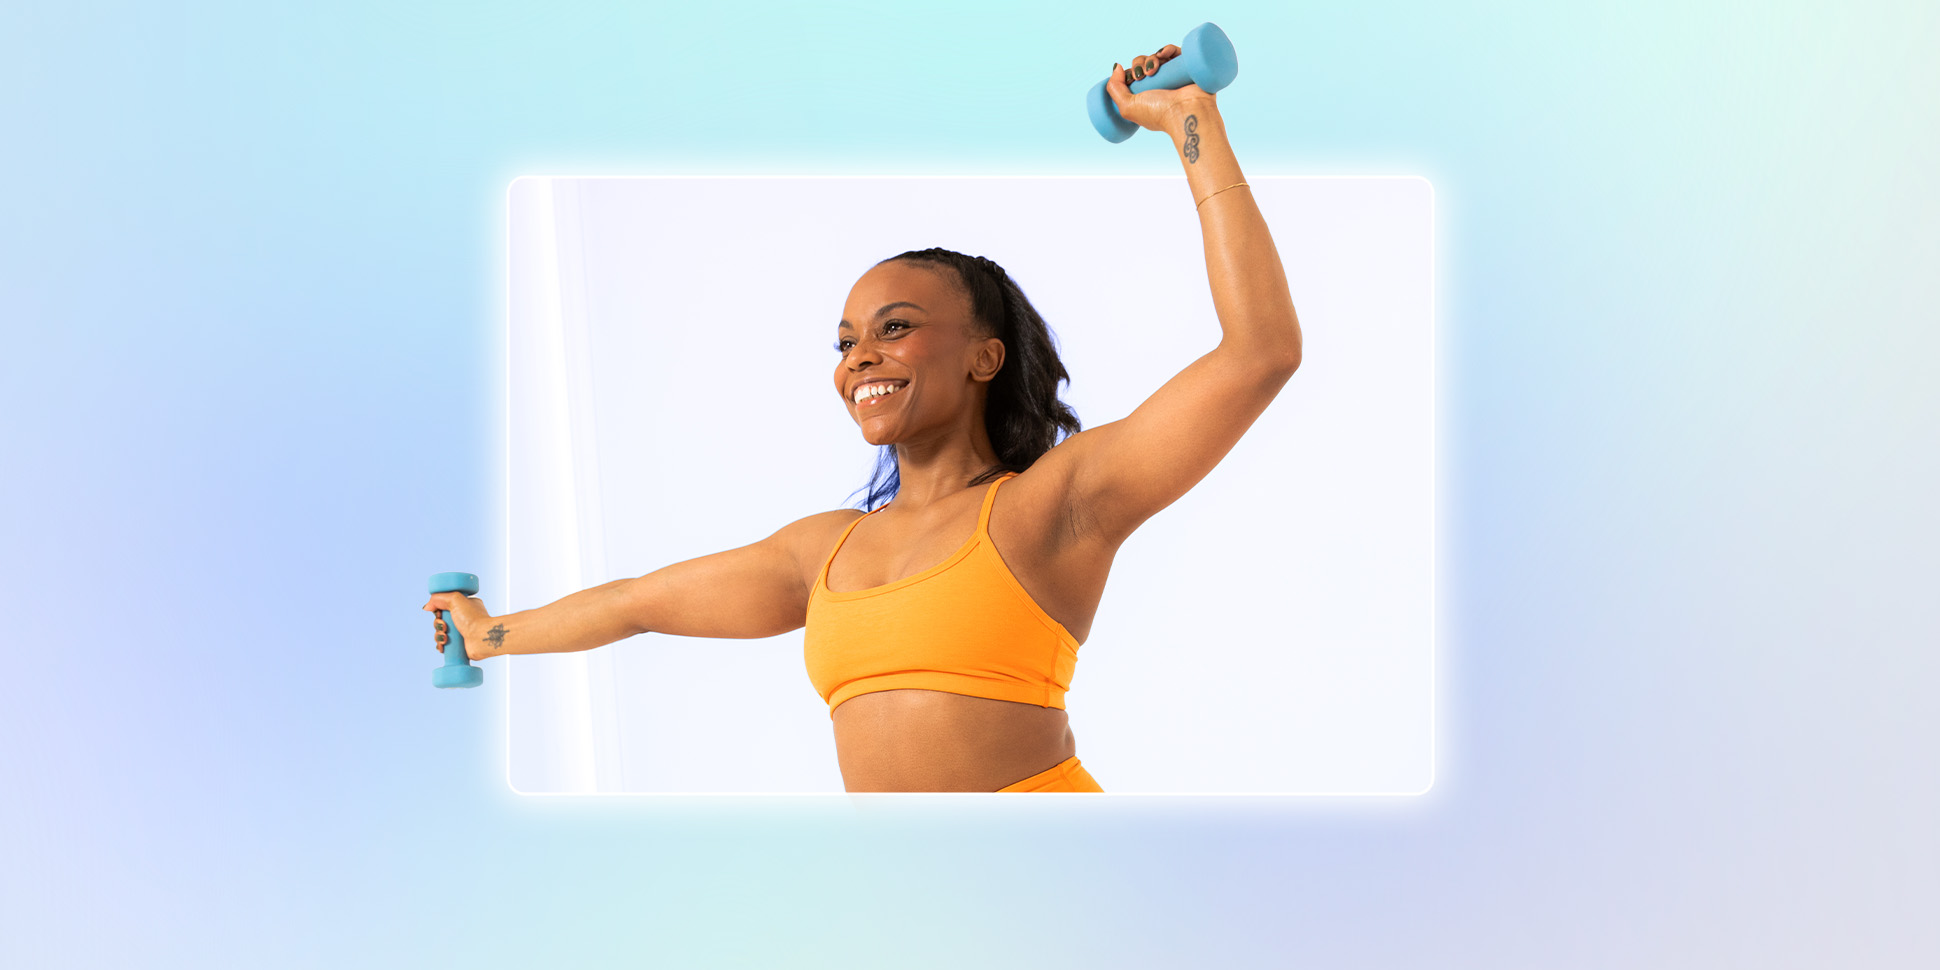
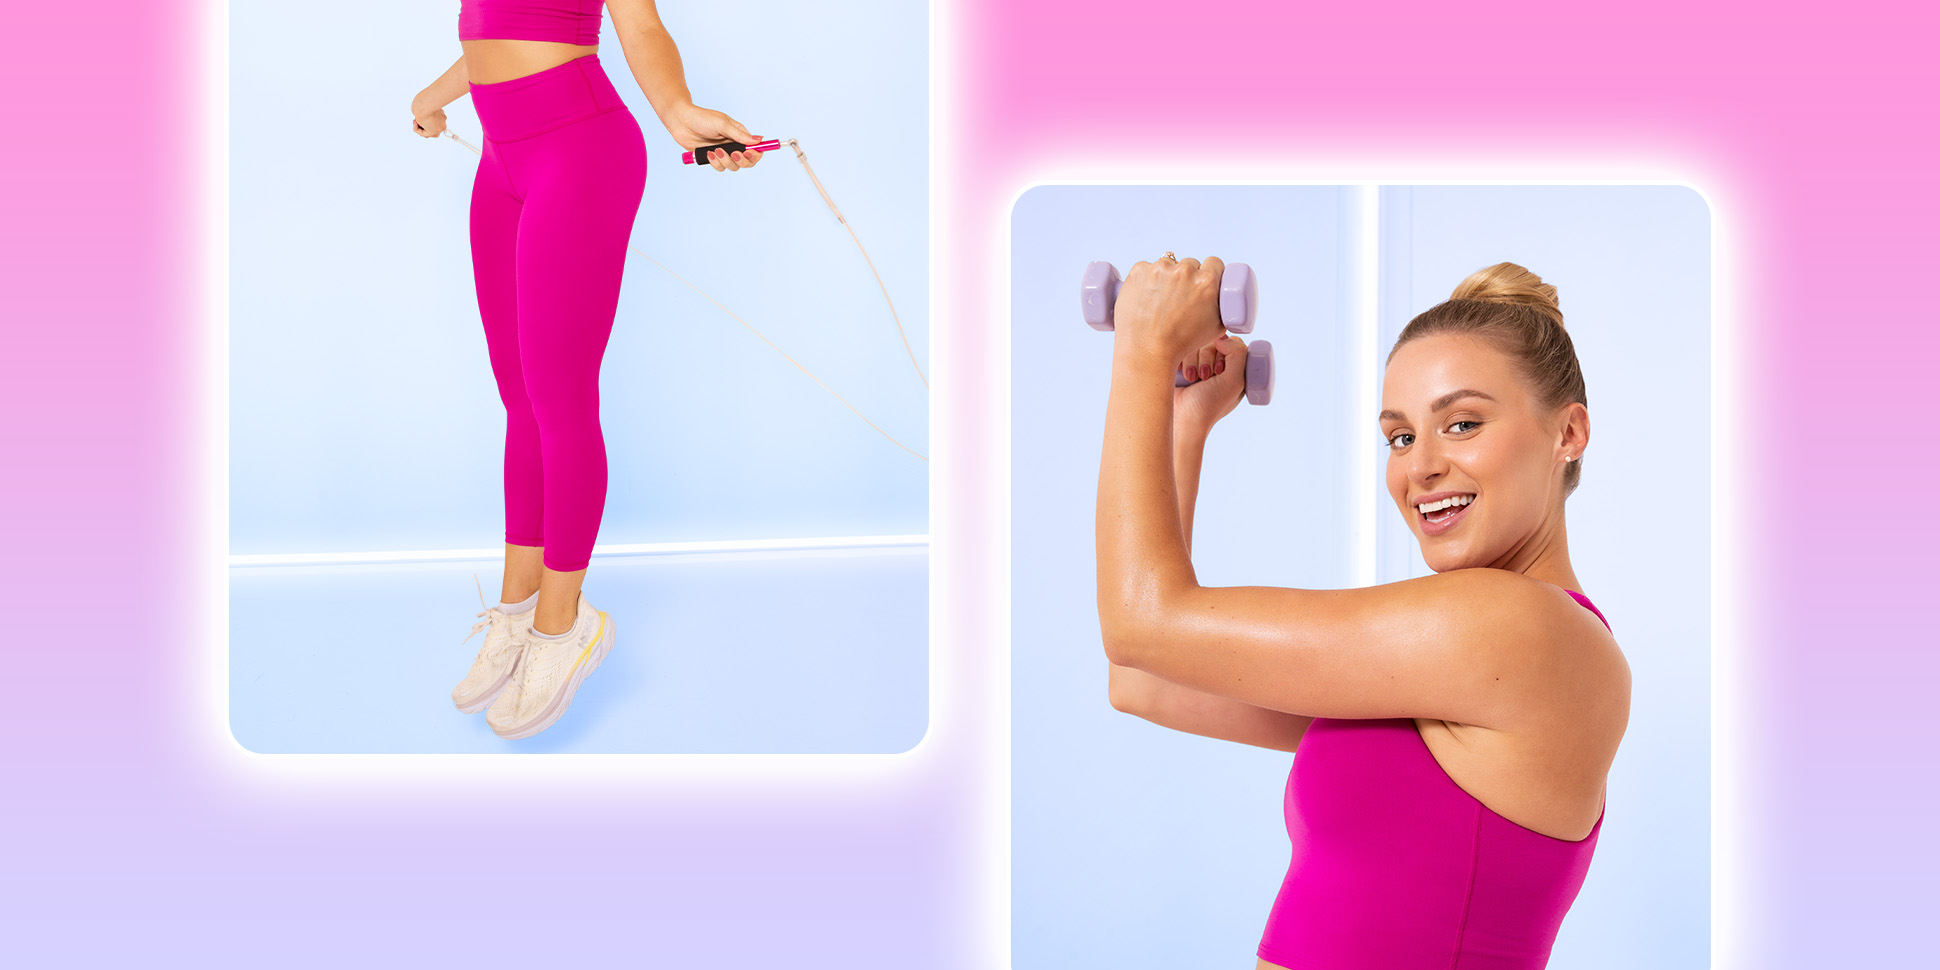
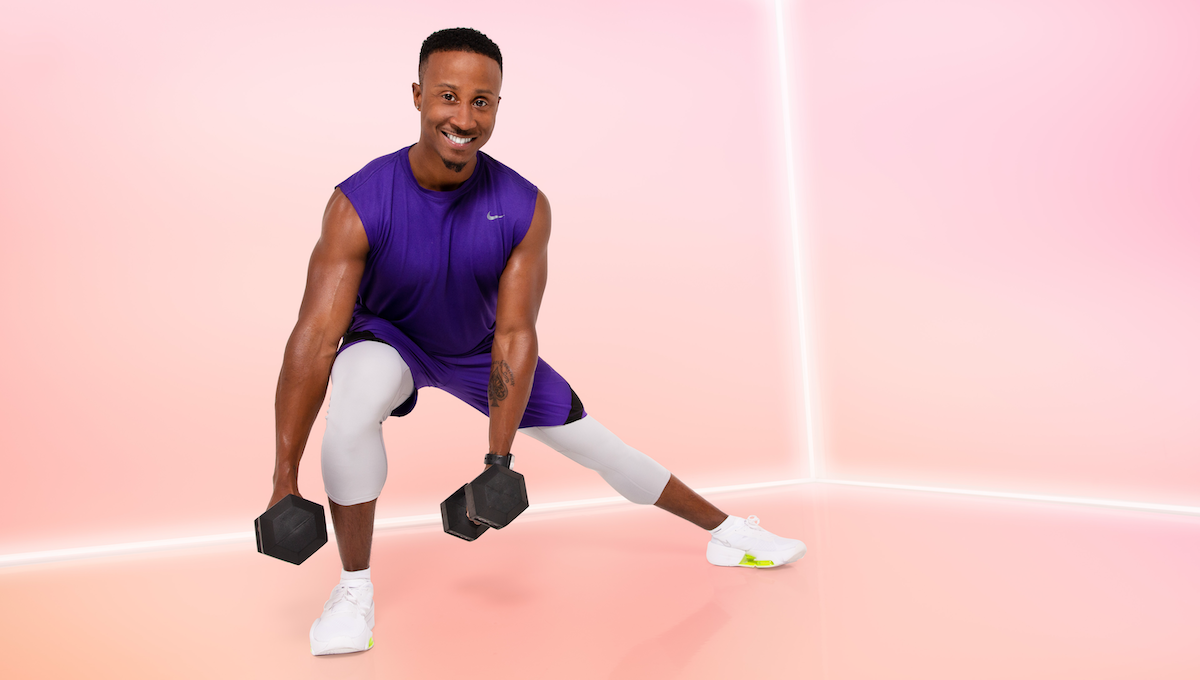
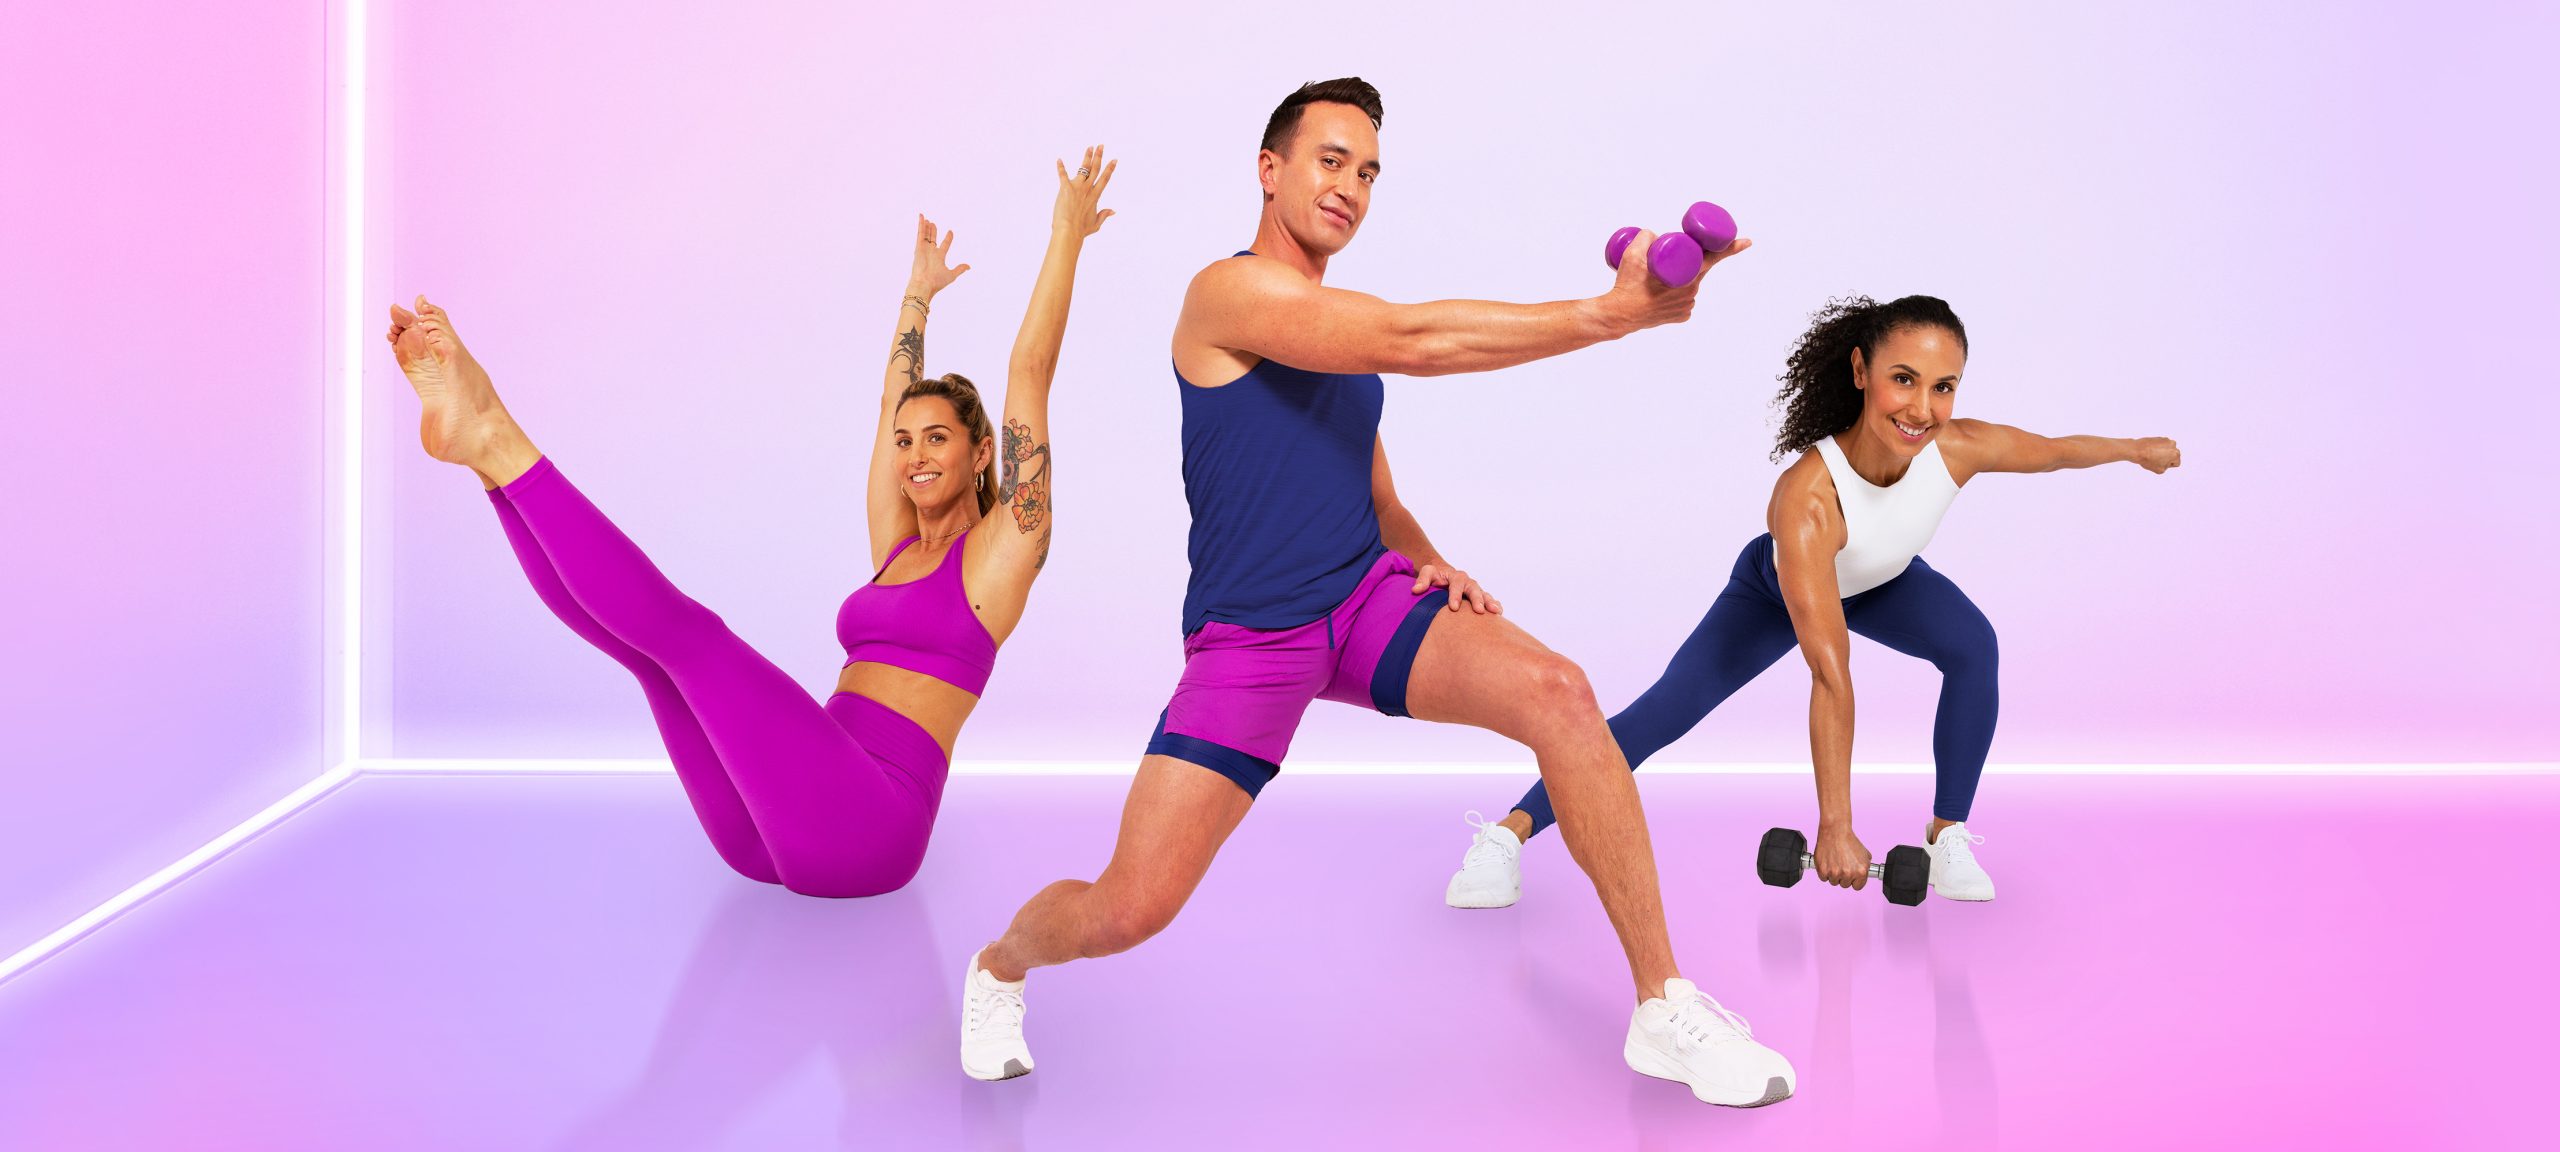
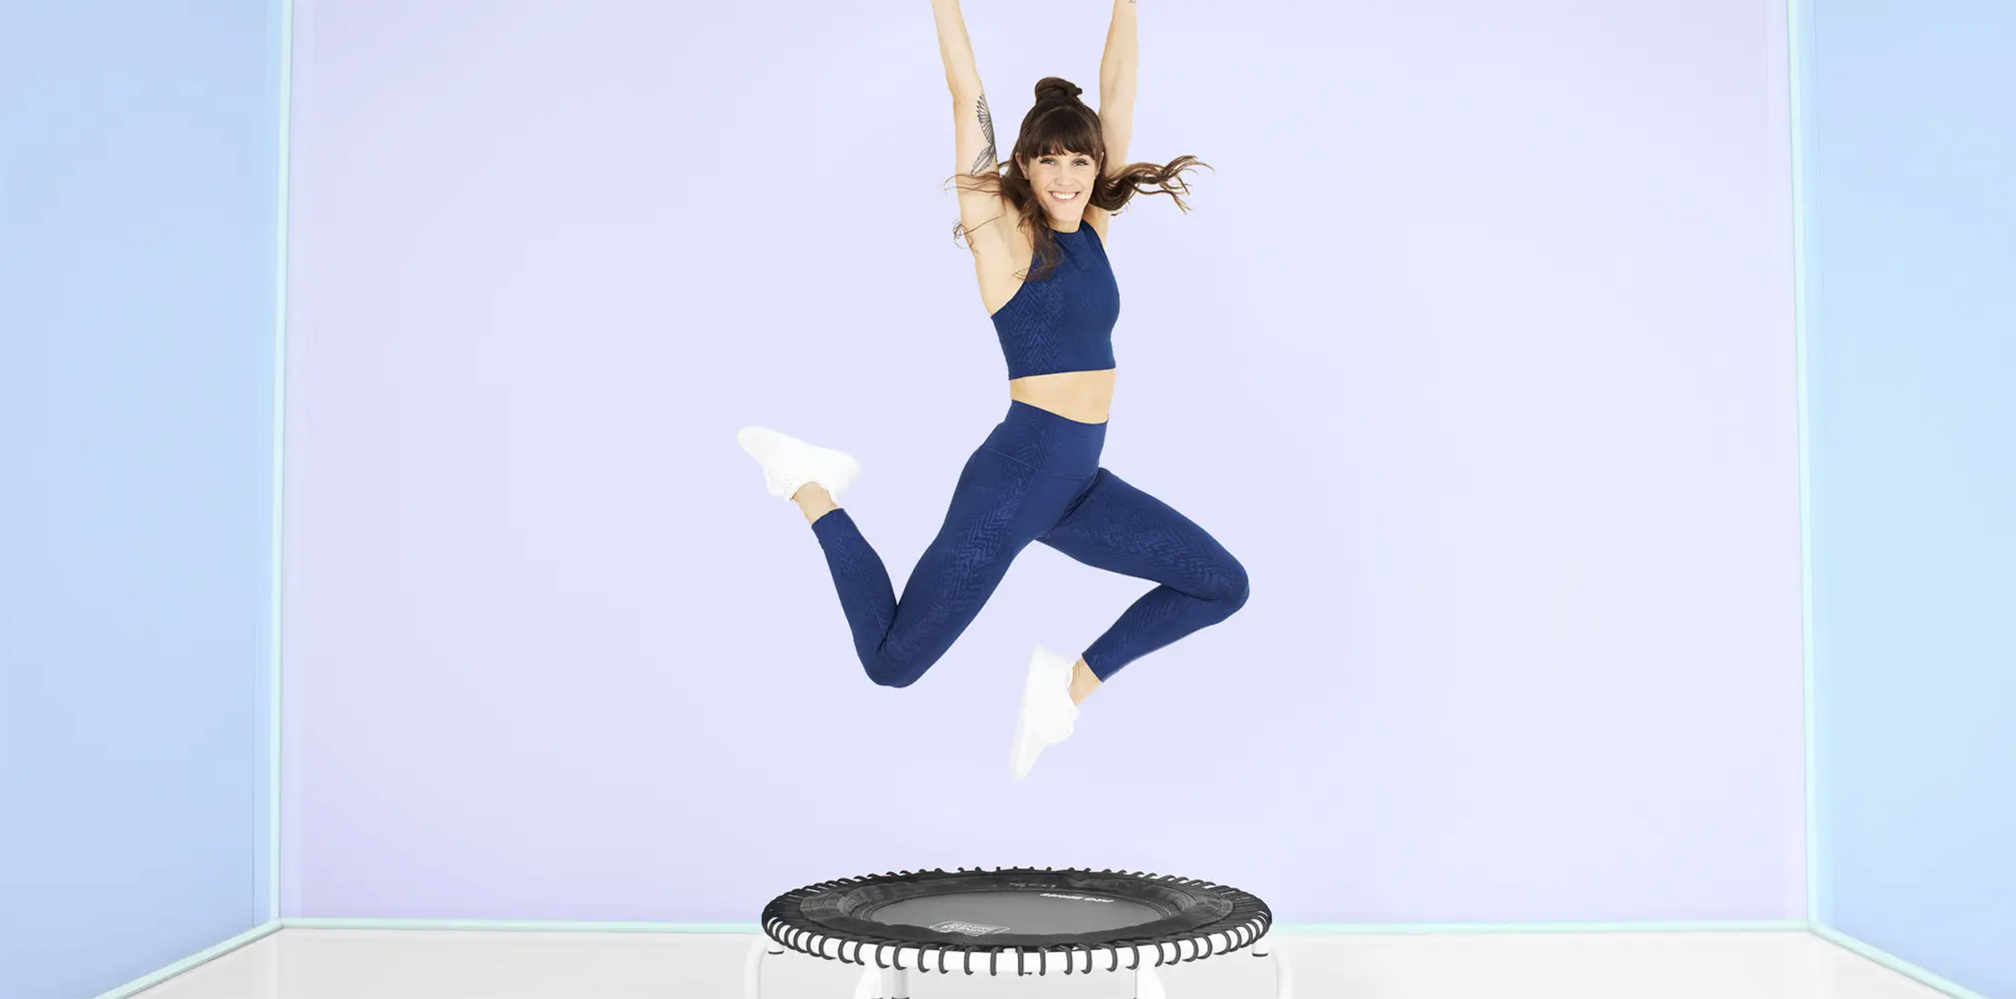
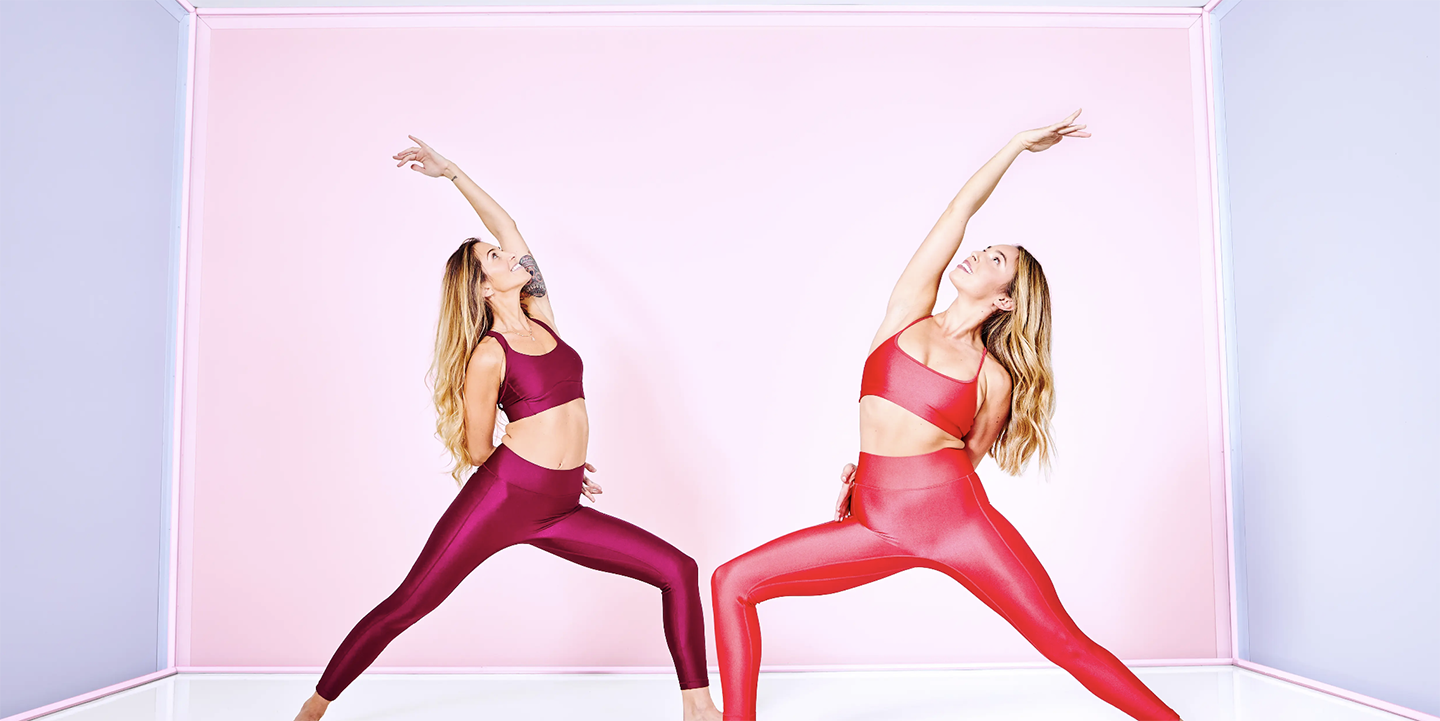
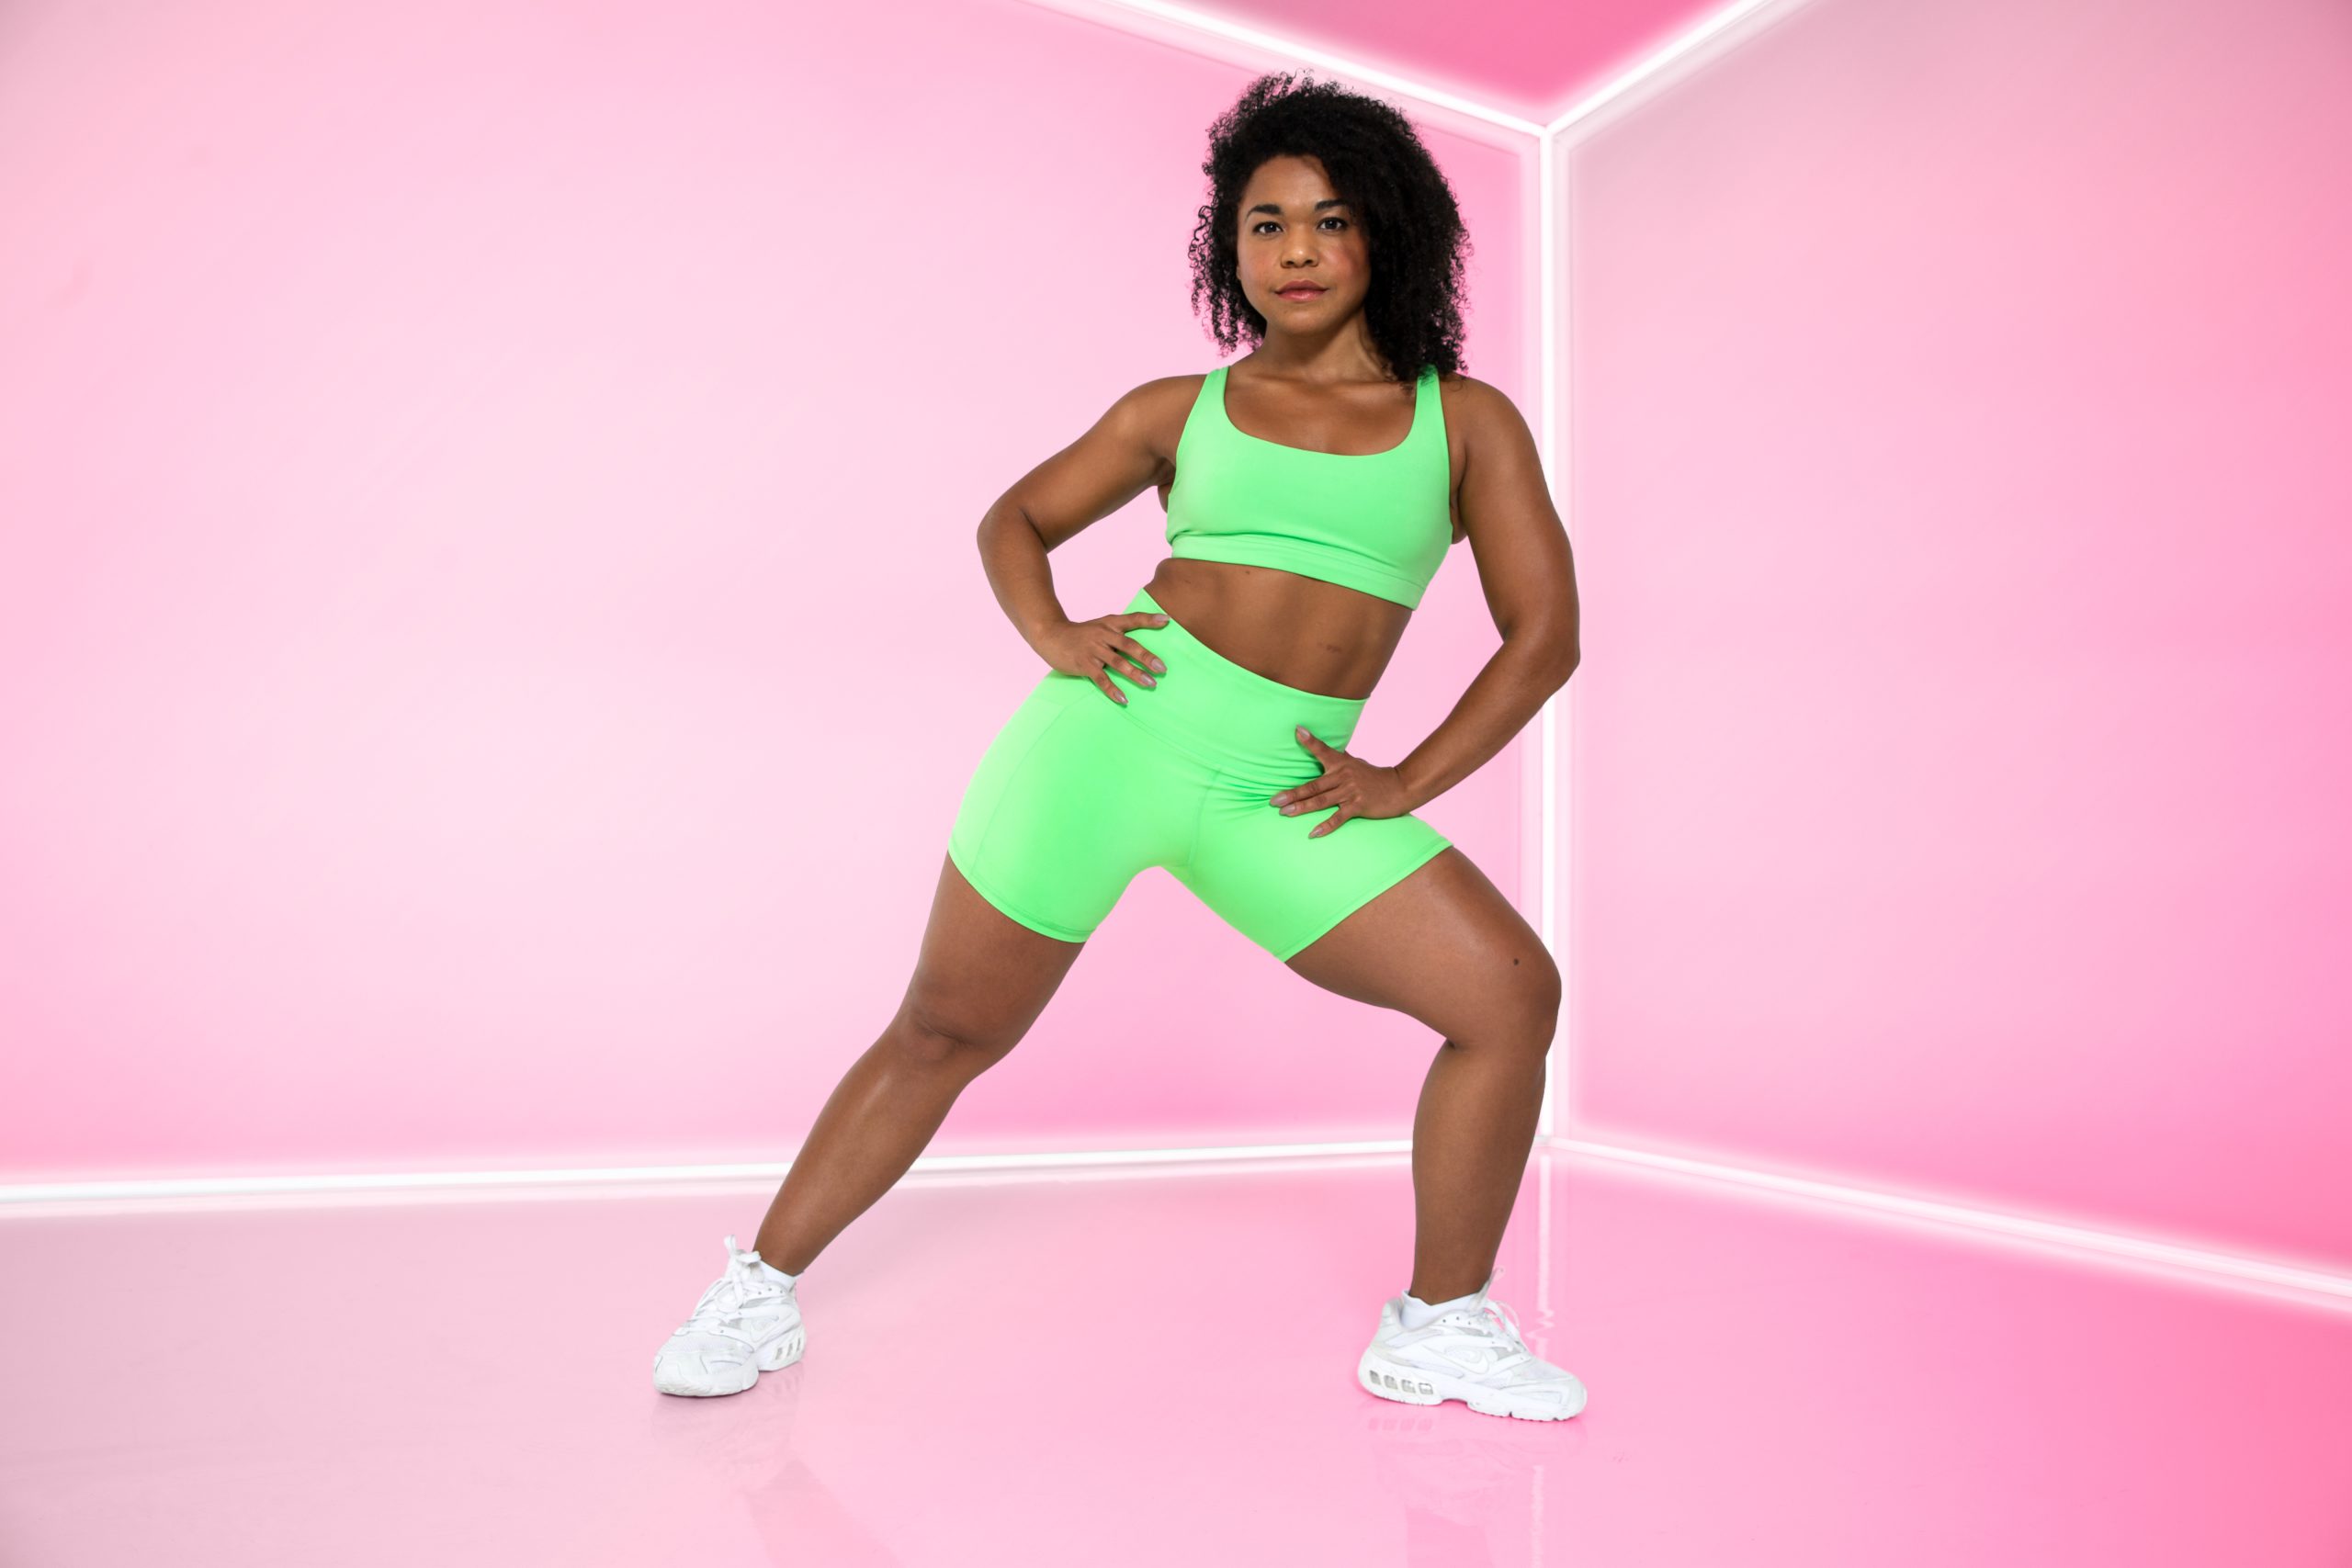
Short on time but need a cardio fix, ASAP? Grab a jump rope and start jumping! Our newest class type—Jump—is a high-intensity, low-impact cardio workout that will boost your endurance and leave you glistening with sweat in just 10 minutes (or less)!
Perfect as a fiery warm up, a companion to strength classes (or the Gym Program), or a solo cardio push, Jump is also ideal for travel or working out with limited equipment. Plus, to shake things up, we’re dishing it out in three different fitness flavors: Jump, Jump Sculpt, and Jump HIIT.
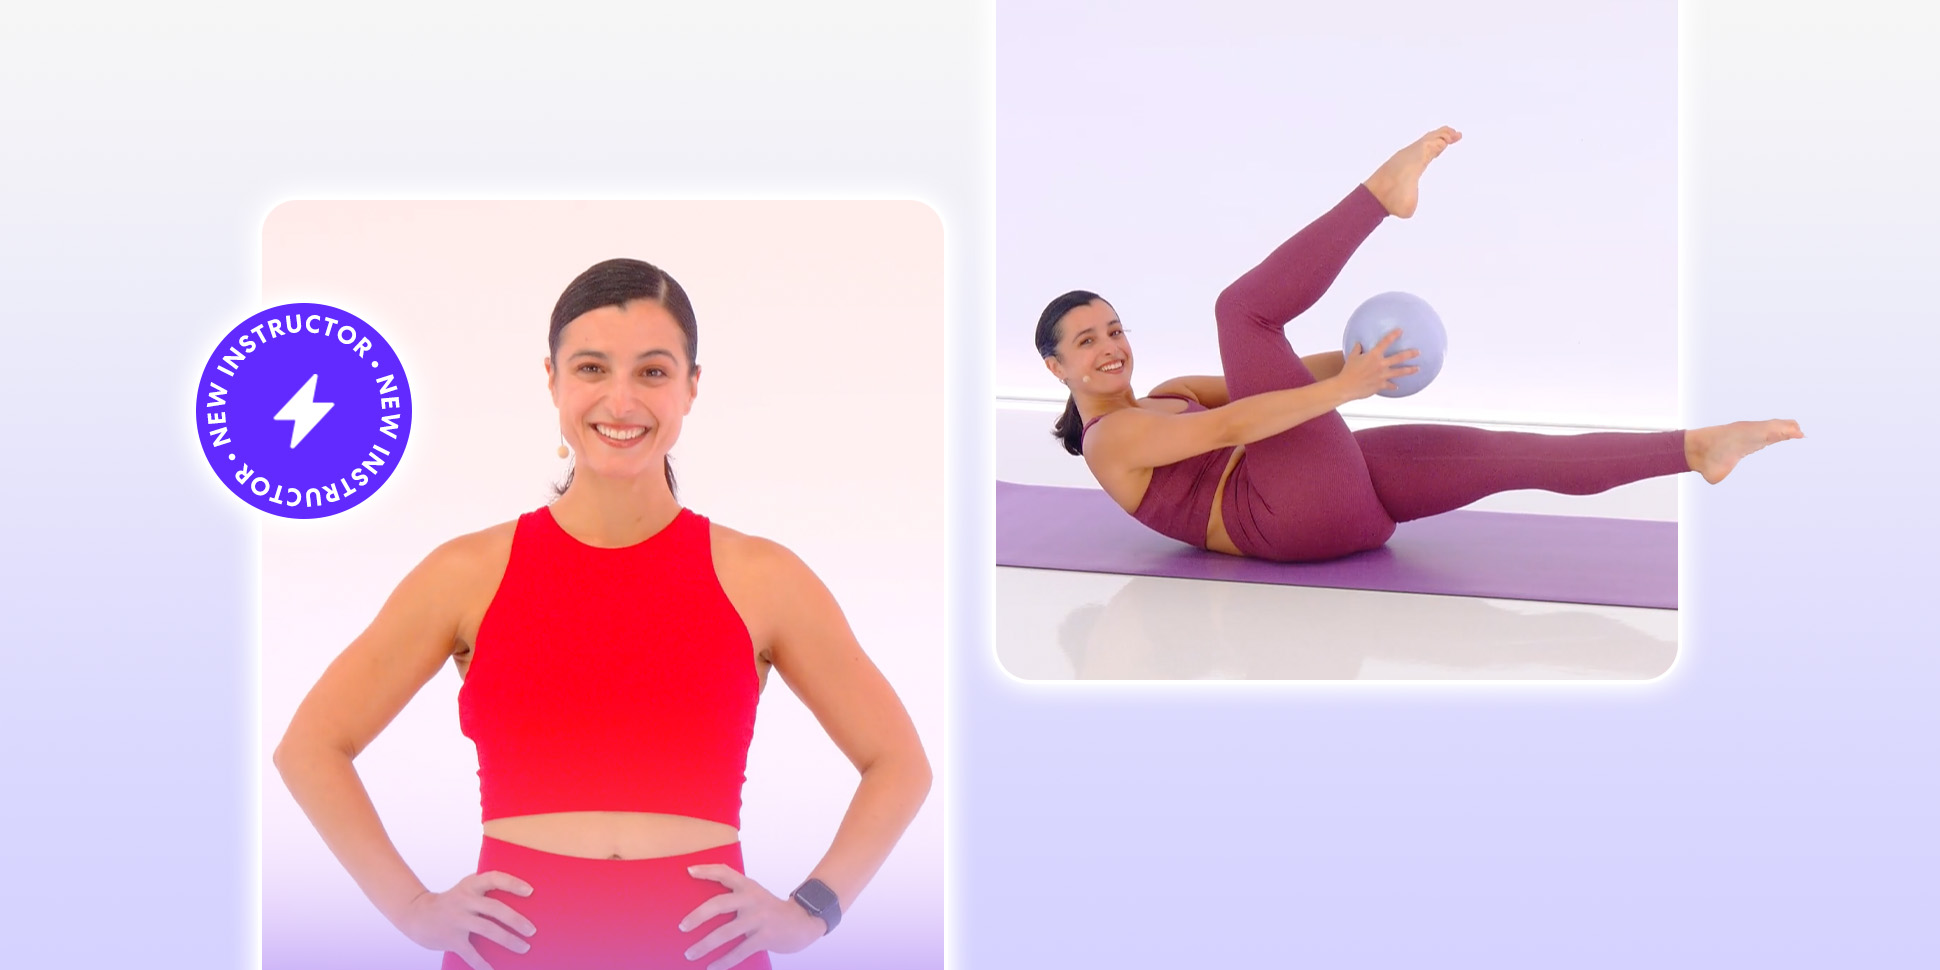
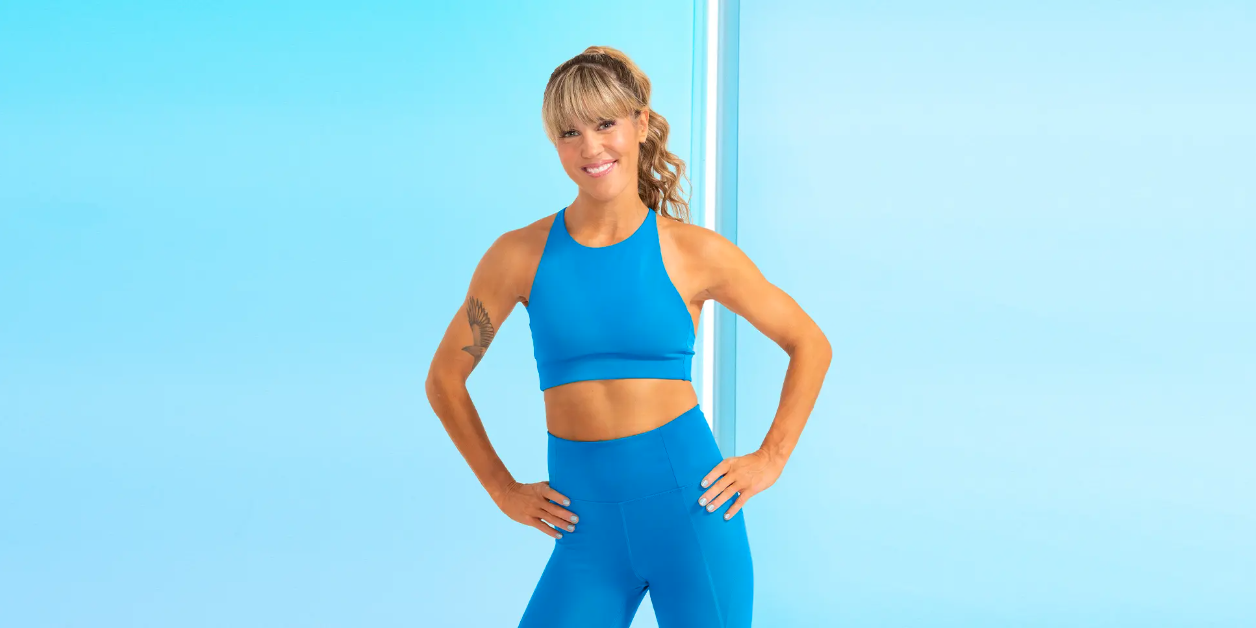
Below, our Training Manager and Jump instructor Melody D. shares essential form tips, tricks for sizing your rope, and what to expect from class.
The Benefits of Jumping Rope
When it comes to equipment, few things are as versatile (or portable!) as a jump rope—and the classes deliver a lot of bang for your buck. Research shows jumping rope is one of the best and most efficient cardio exercises you can do at any fitness level. Part cardiovascular workout, part full-body strength (a rare two-in-one combo), it torches calories while boosting your endurance, stamina, agility, and power (that’s where those explosive double unders come in).
“Especially if you’re not a fan of long runs or HIIT, jump rope is a great option for you. It’s gentler on your joints while also improving your bone density,” says Melody. Since it puts your whole body to work, your heart rate will elevate super quickly (comparable to running), so you won’t need to jump for very long, either. (This is why all of our Jump classes will be 15 minutes or less!)
But the benefits aren’t just physical: Jumping rope also activates your mind-body connection. Not only does learning the jump choreography (aka jump-ography) keep your mind fresh, it also challenges your coordination in new ways.
“There’s this meditative, calming element of Jump, because you get into a rhythm,” says Melody. “But you also have to stay very aware of what you’re doing—the second you stop focusing on the exercise, you may accidentally get tangled or whip yourself with the rope.” But, funny enough, doing it consistently will actually make you less prone to injury.
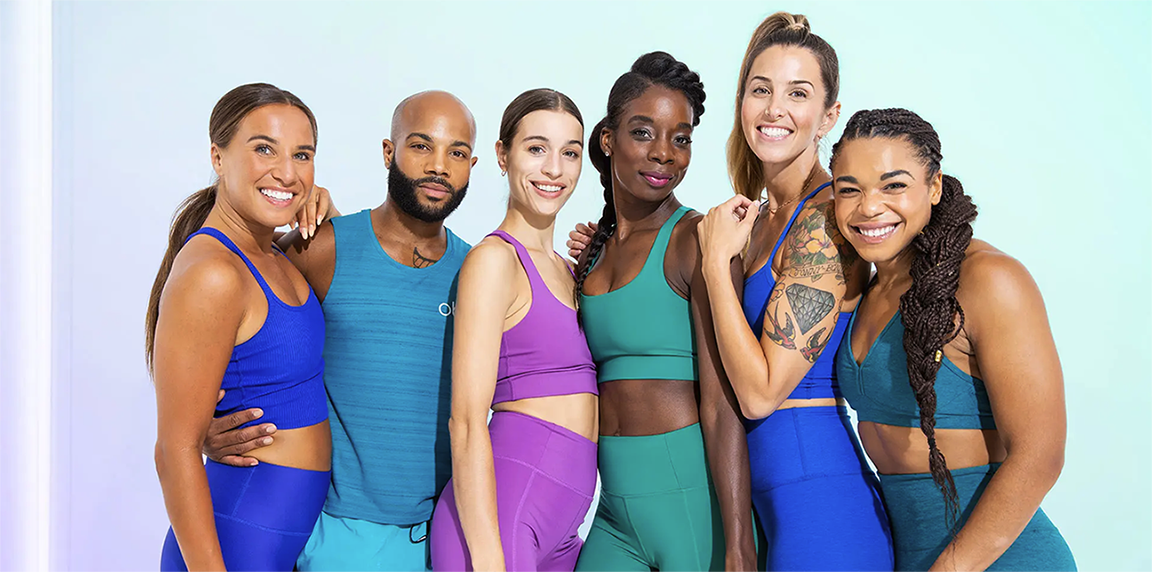
Every Way to Jump Rope at obé
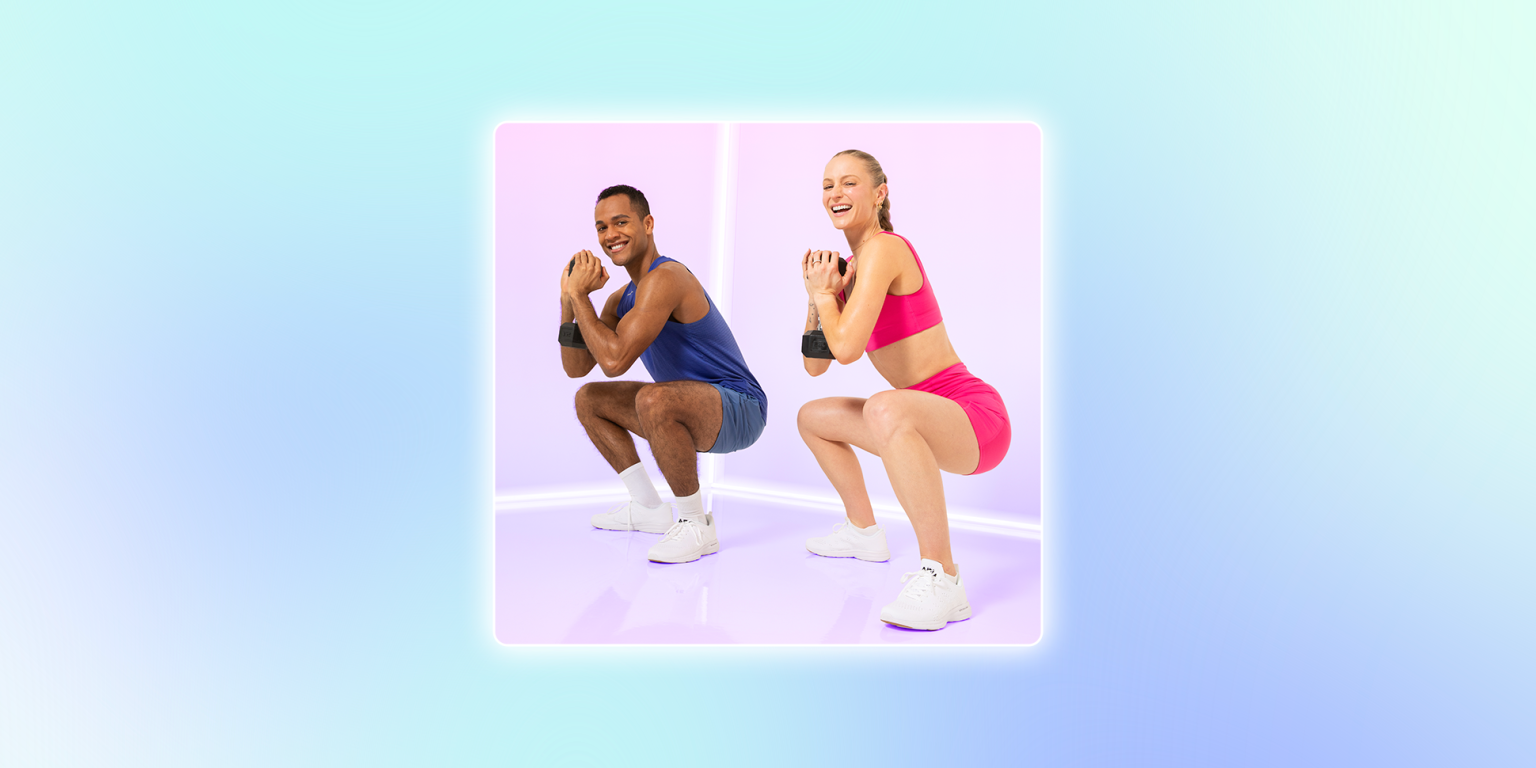
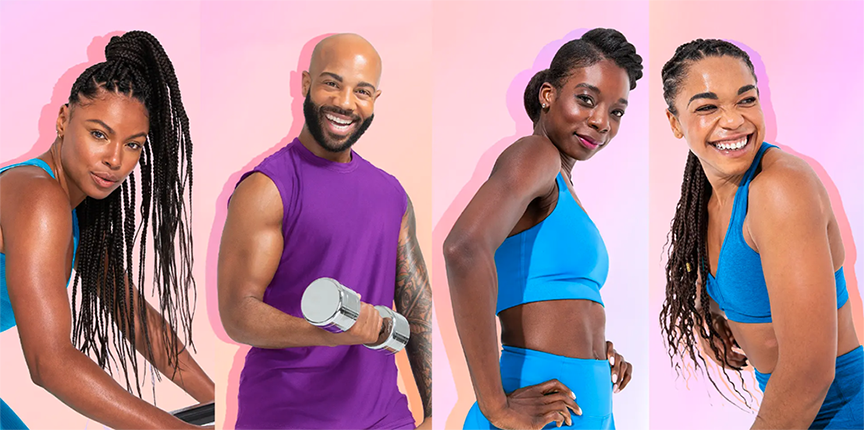
Jumped rope as a kid? Doing it for exercise is a little different (okay, maybe a lot). Get ready for circuit-based formats that feature standard skipping, jumping variations, and functional strength-training exercises—or creative ways to work the rope with Sculpt-inspired moves. At obé, you’ll find three different ways to hop in:
- Jump: Hype your heart rate with this rhythmic, beat-based workout. You’ll perform simple, low-impact sequences (kind of like mini-choreography) designed to boost your cardio and enhance coordination.
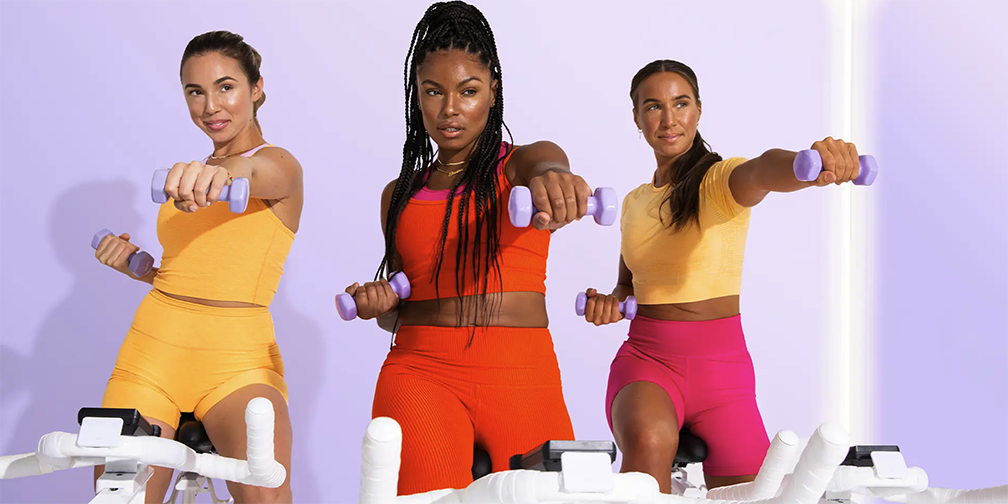
- Jump Sculpt: It’s heart-elevating cardio, with a side of toning sculpt. Pair cardio sequences with high-rep sculpting moves using the rope as your resistance (it burns so good).
- Jump HIIT: Finesse your skills with basic jumps, jacks, high knees, and double unders while tackling functional strength-training exercises until you reach euphoric breathlessness. This one takes you to a 10/10.
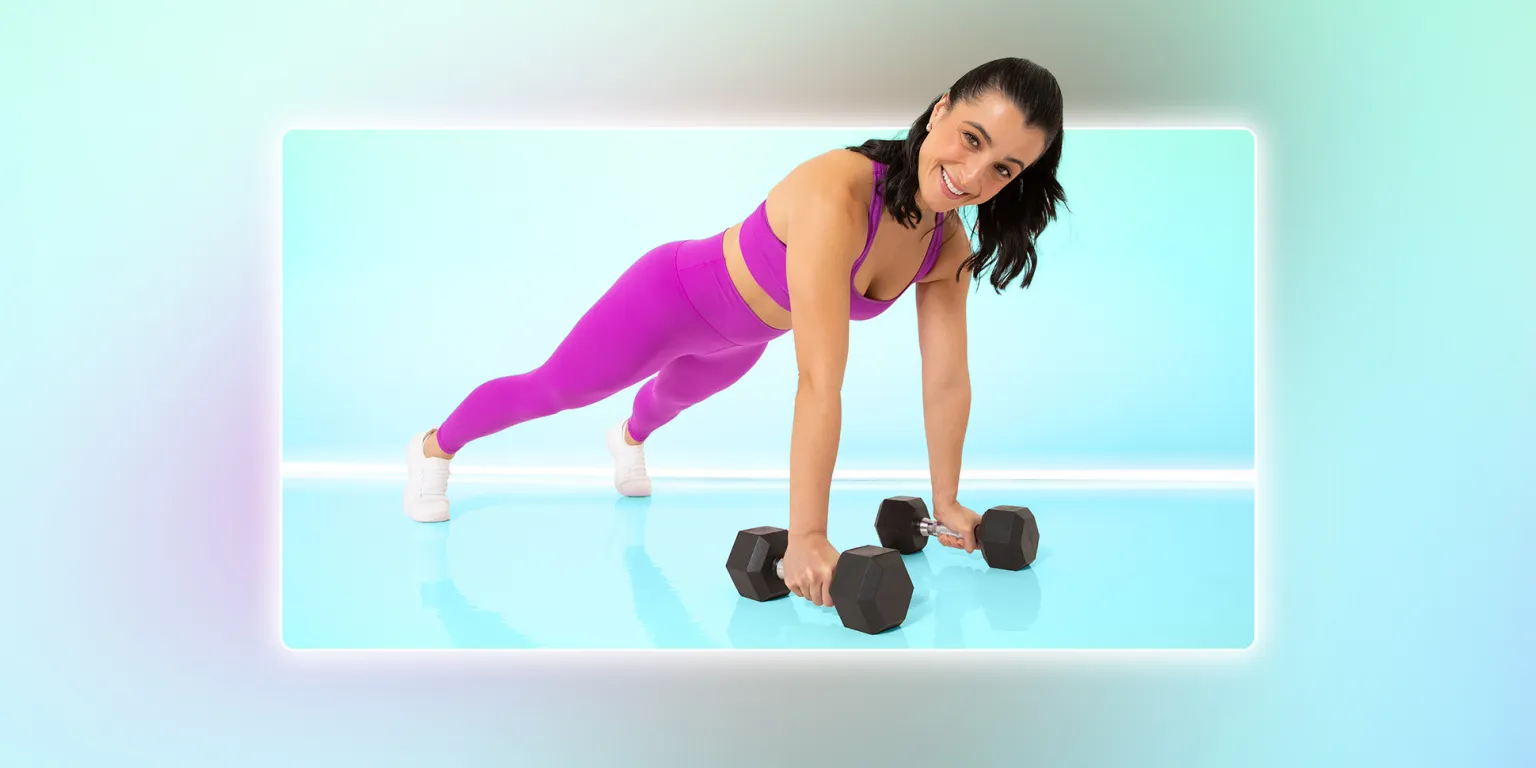
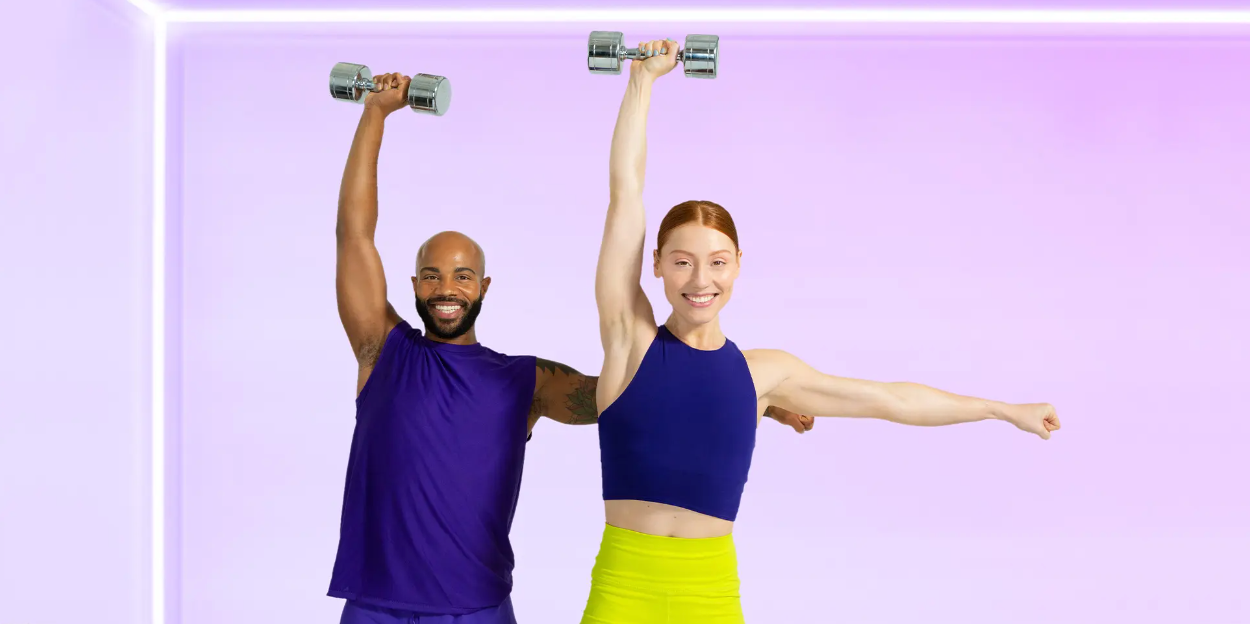
Either way, expect a full-body burn. “Your legs are working, your core has to be engaged the whole time, and you’re going to feel your biceps, shoulders, and arms in general,” explains Melody. “It’s a fun way to do upper body and arms.”
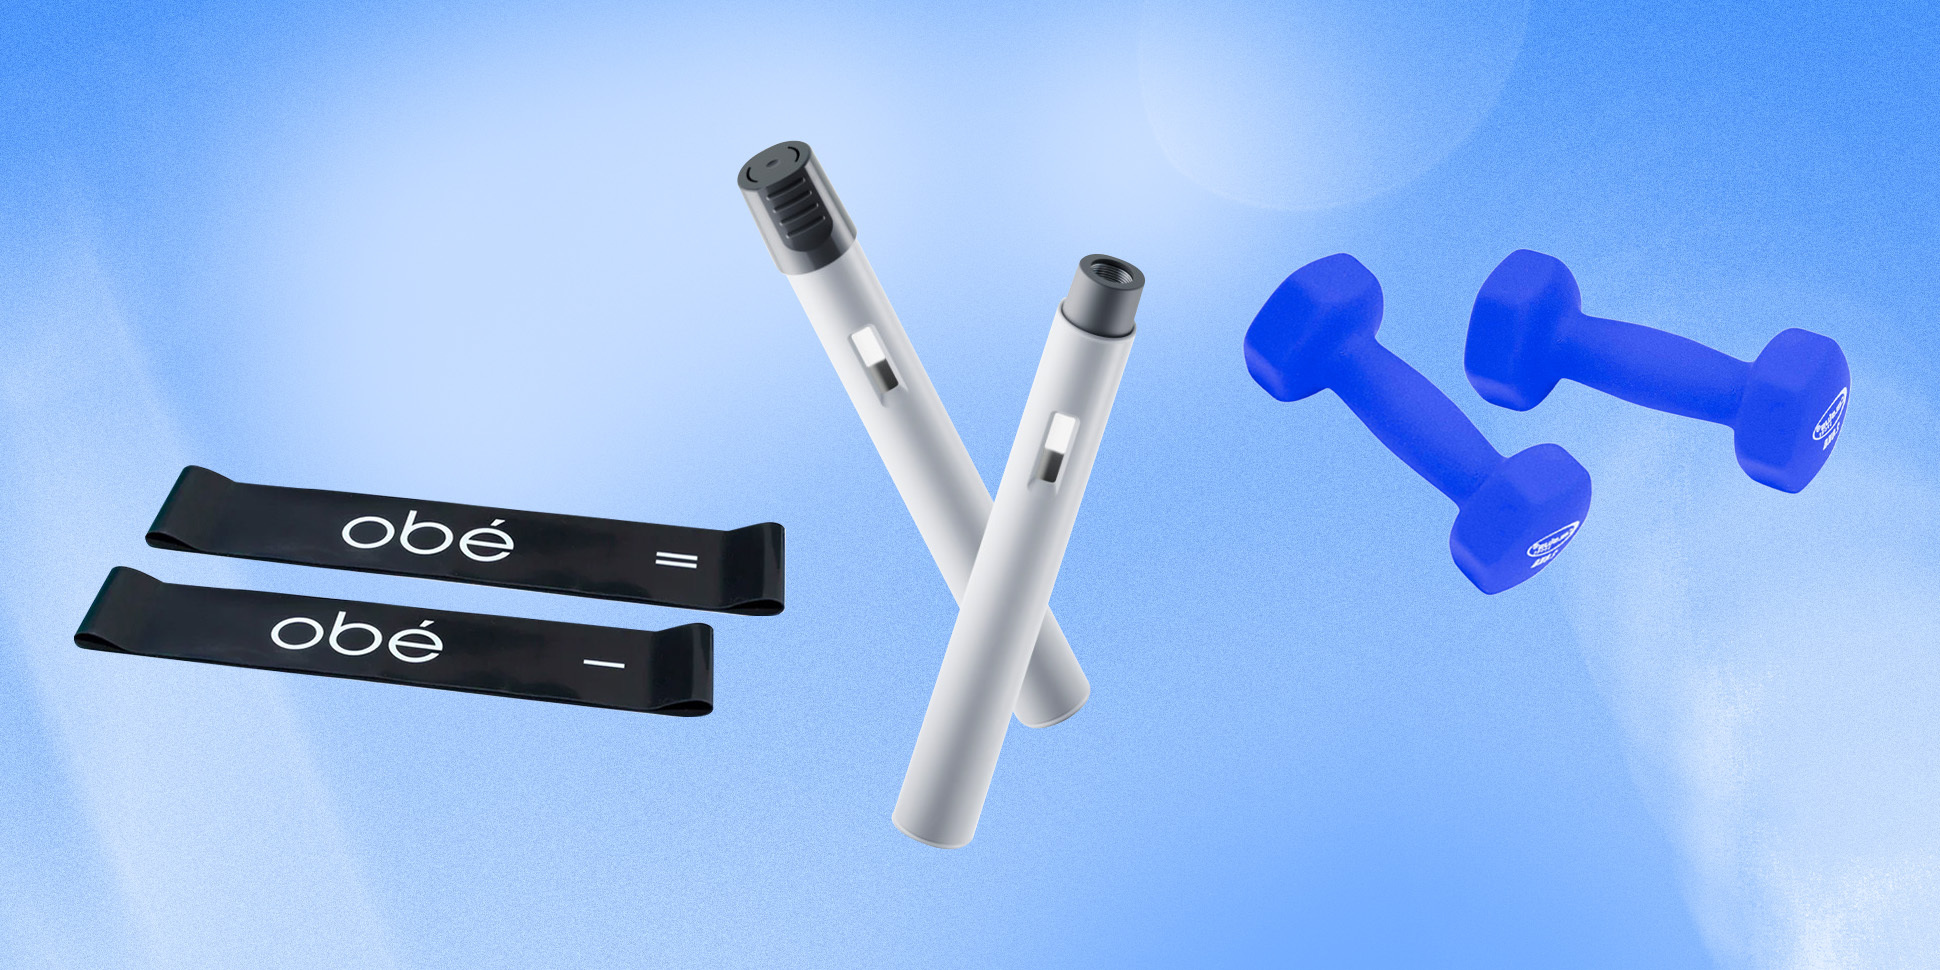
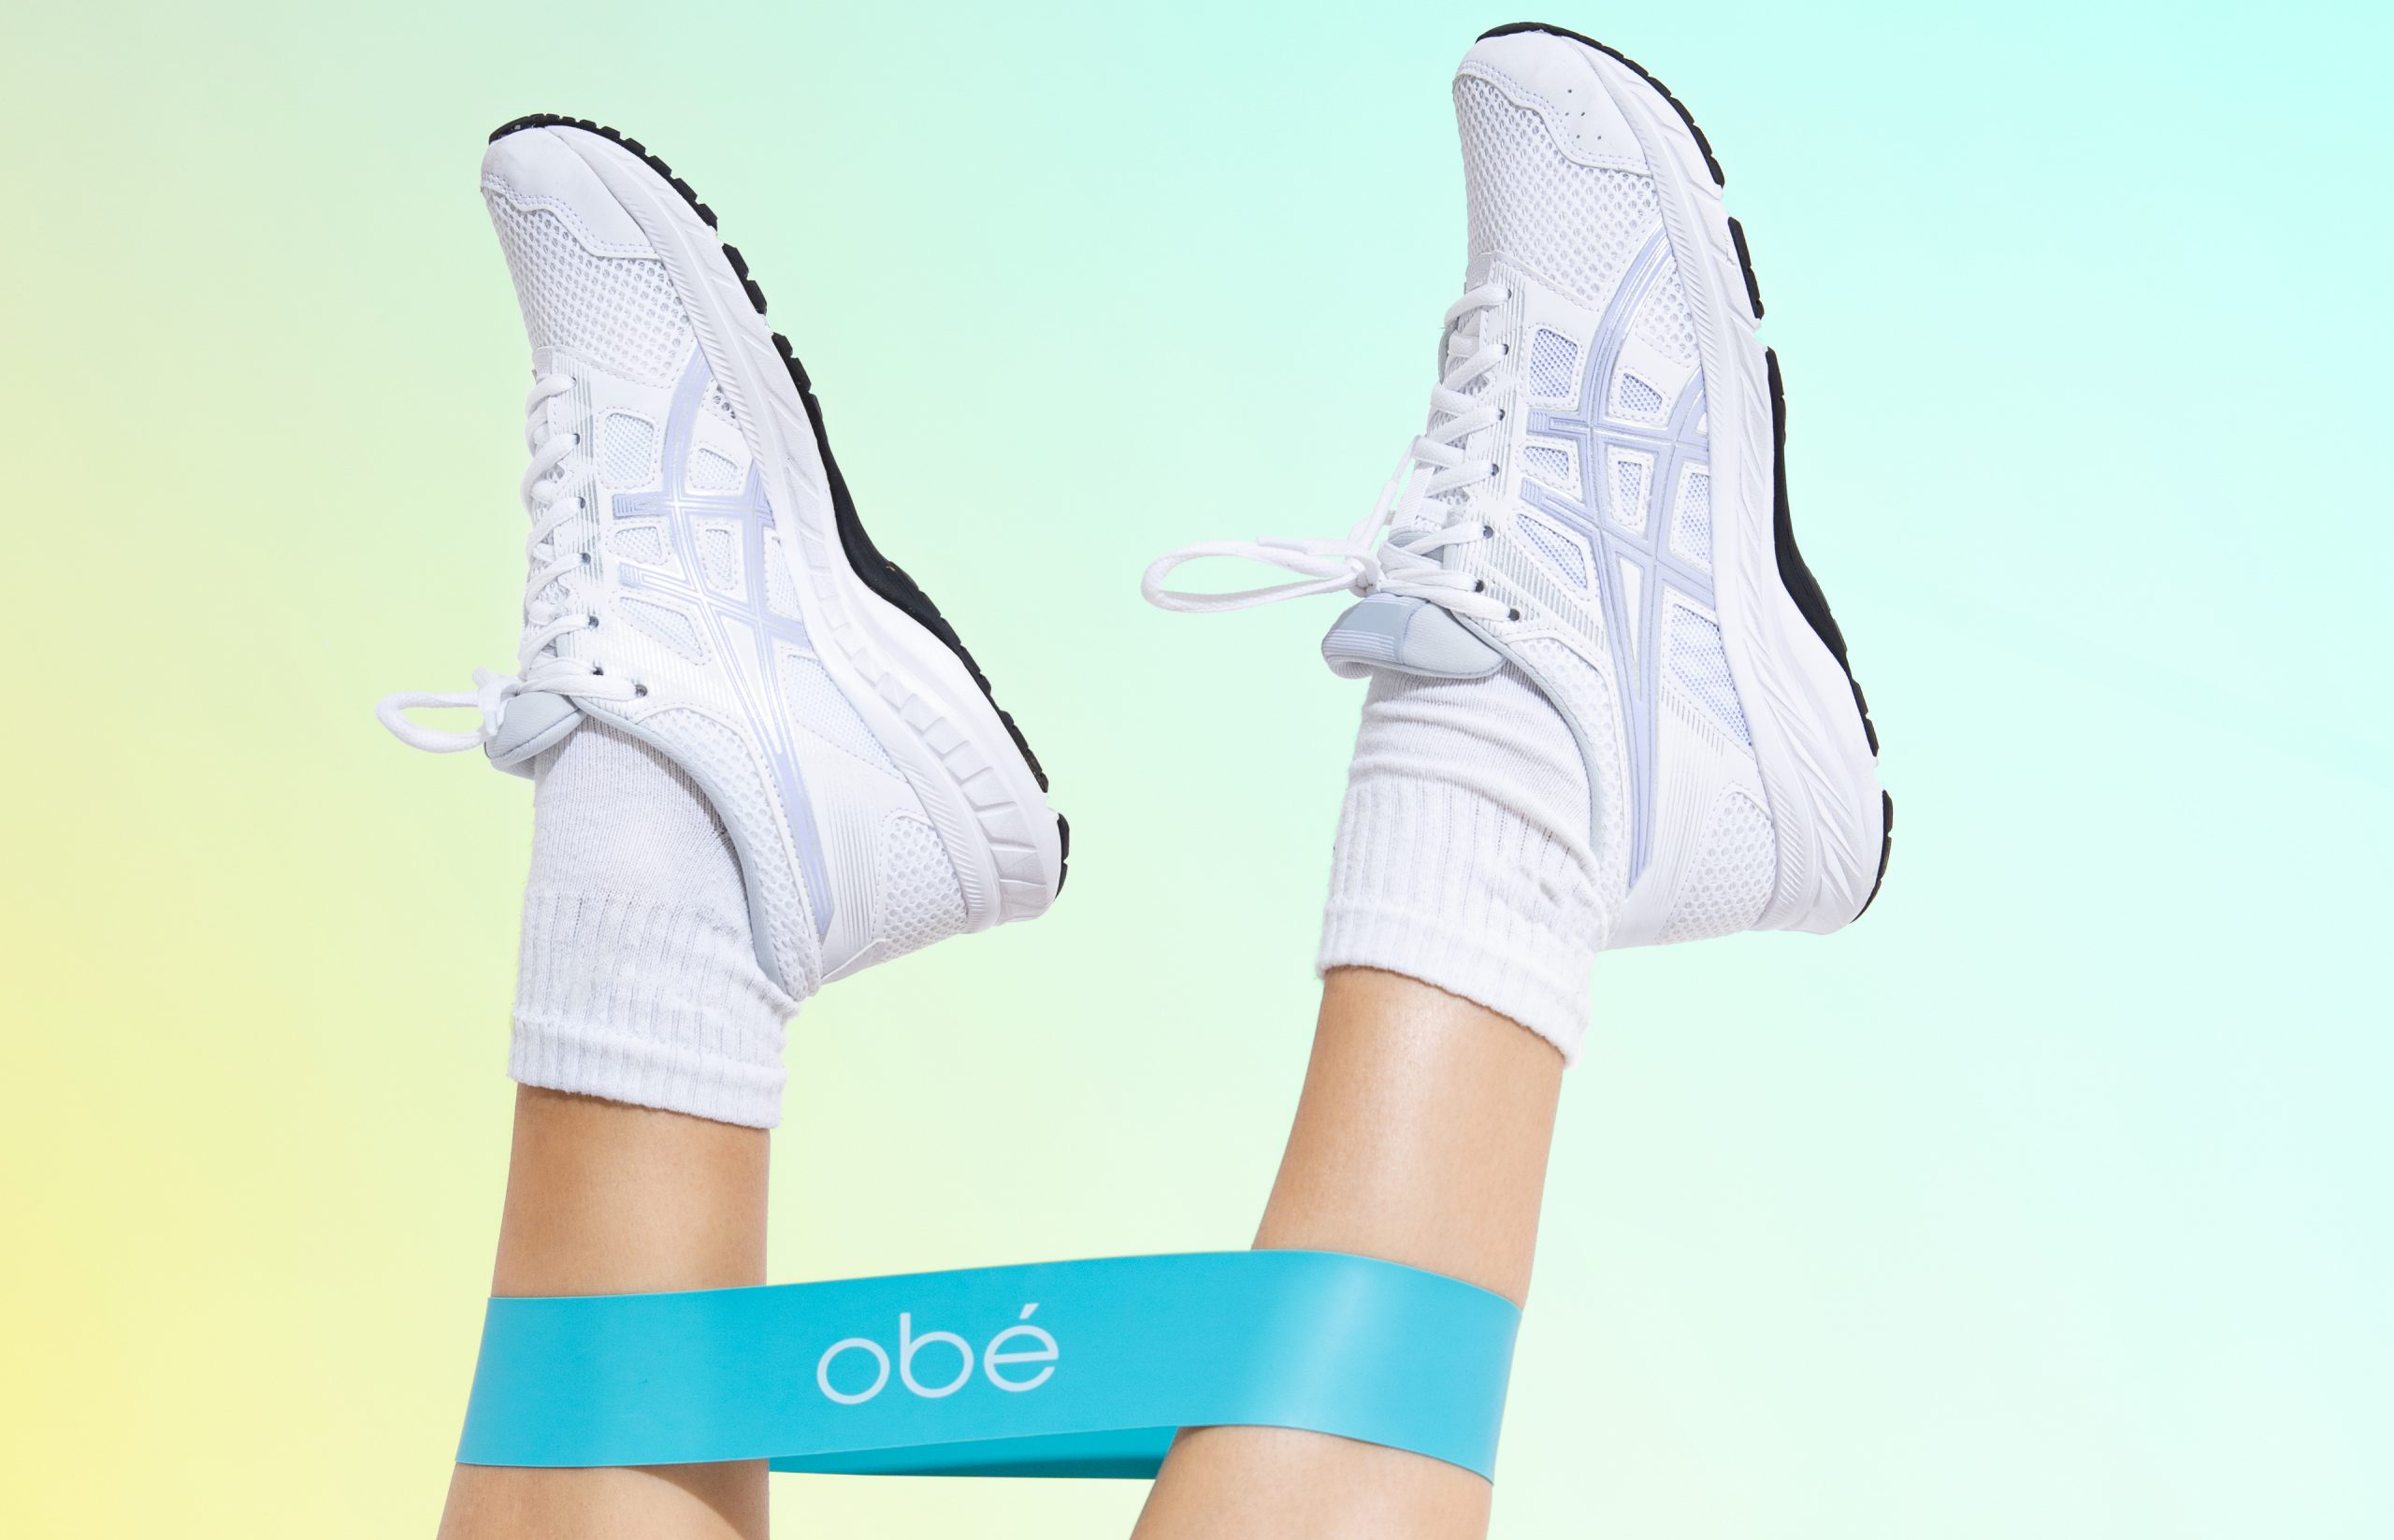
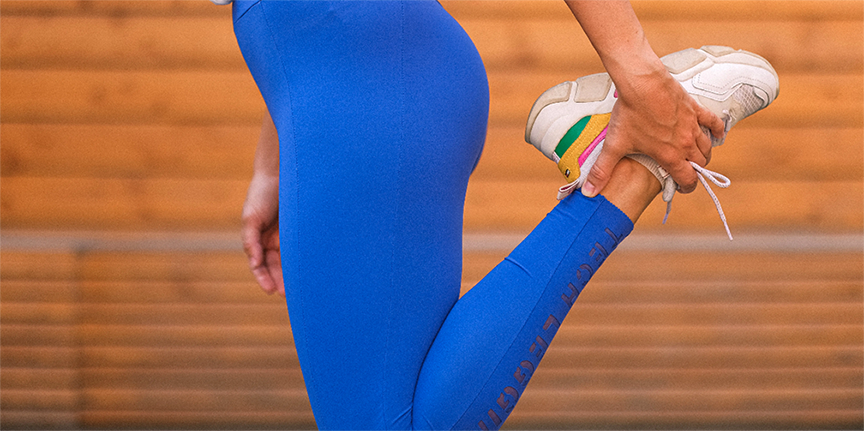
Setting Up Your Jumping Rope
In the world of jumping, there’s two equipment options—a weighted or speed rope. While weighted ropes can deliver a great strength-building challenge, Melody suggests using a speed rope for obé classes since it allows you to keep on tempo and stick with a faster speed (she recommends this one!).
Once you’ve got your rope, here’s how to size it perfectly:
- Grab the handles and stand at the center of the rope with one foot down the middle.
- Pull the ropes up—the handles should reach your armpits when the rope is straight.
- If the rope’s too long, you can usually pull the rope inside the handles, or simply tie a few knots until you hit the sweet spot. If it’s too short, you’ll need to get a longer rope.
Tips for Beginners
To get in the swing of things, follow Melody’s pro tips:
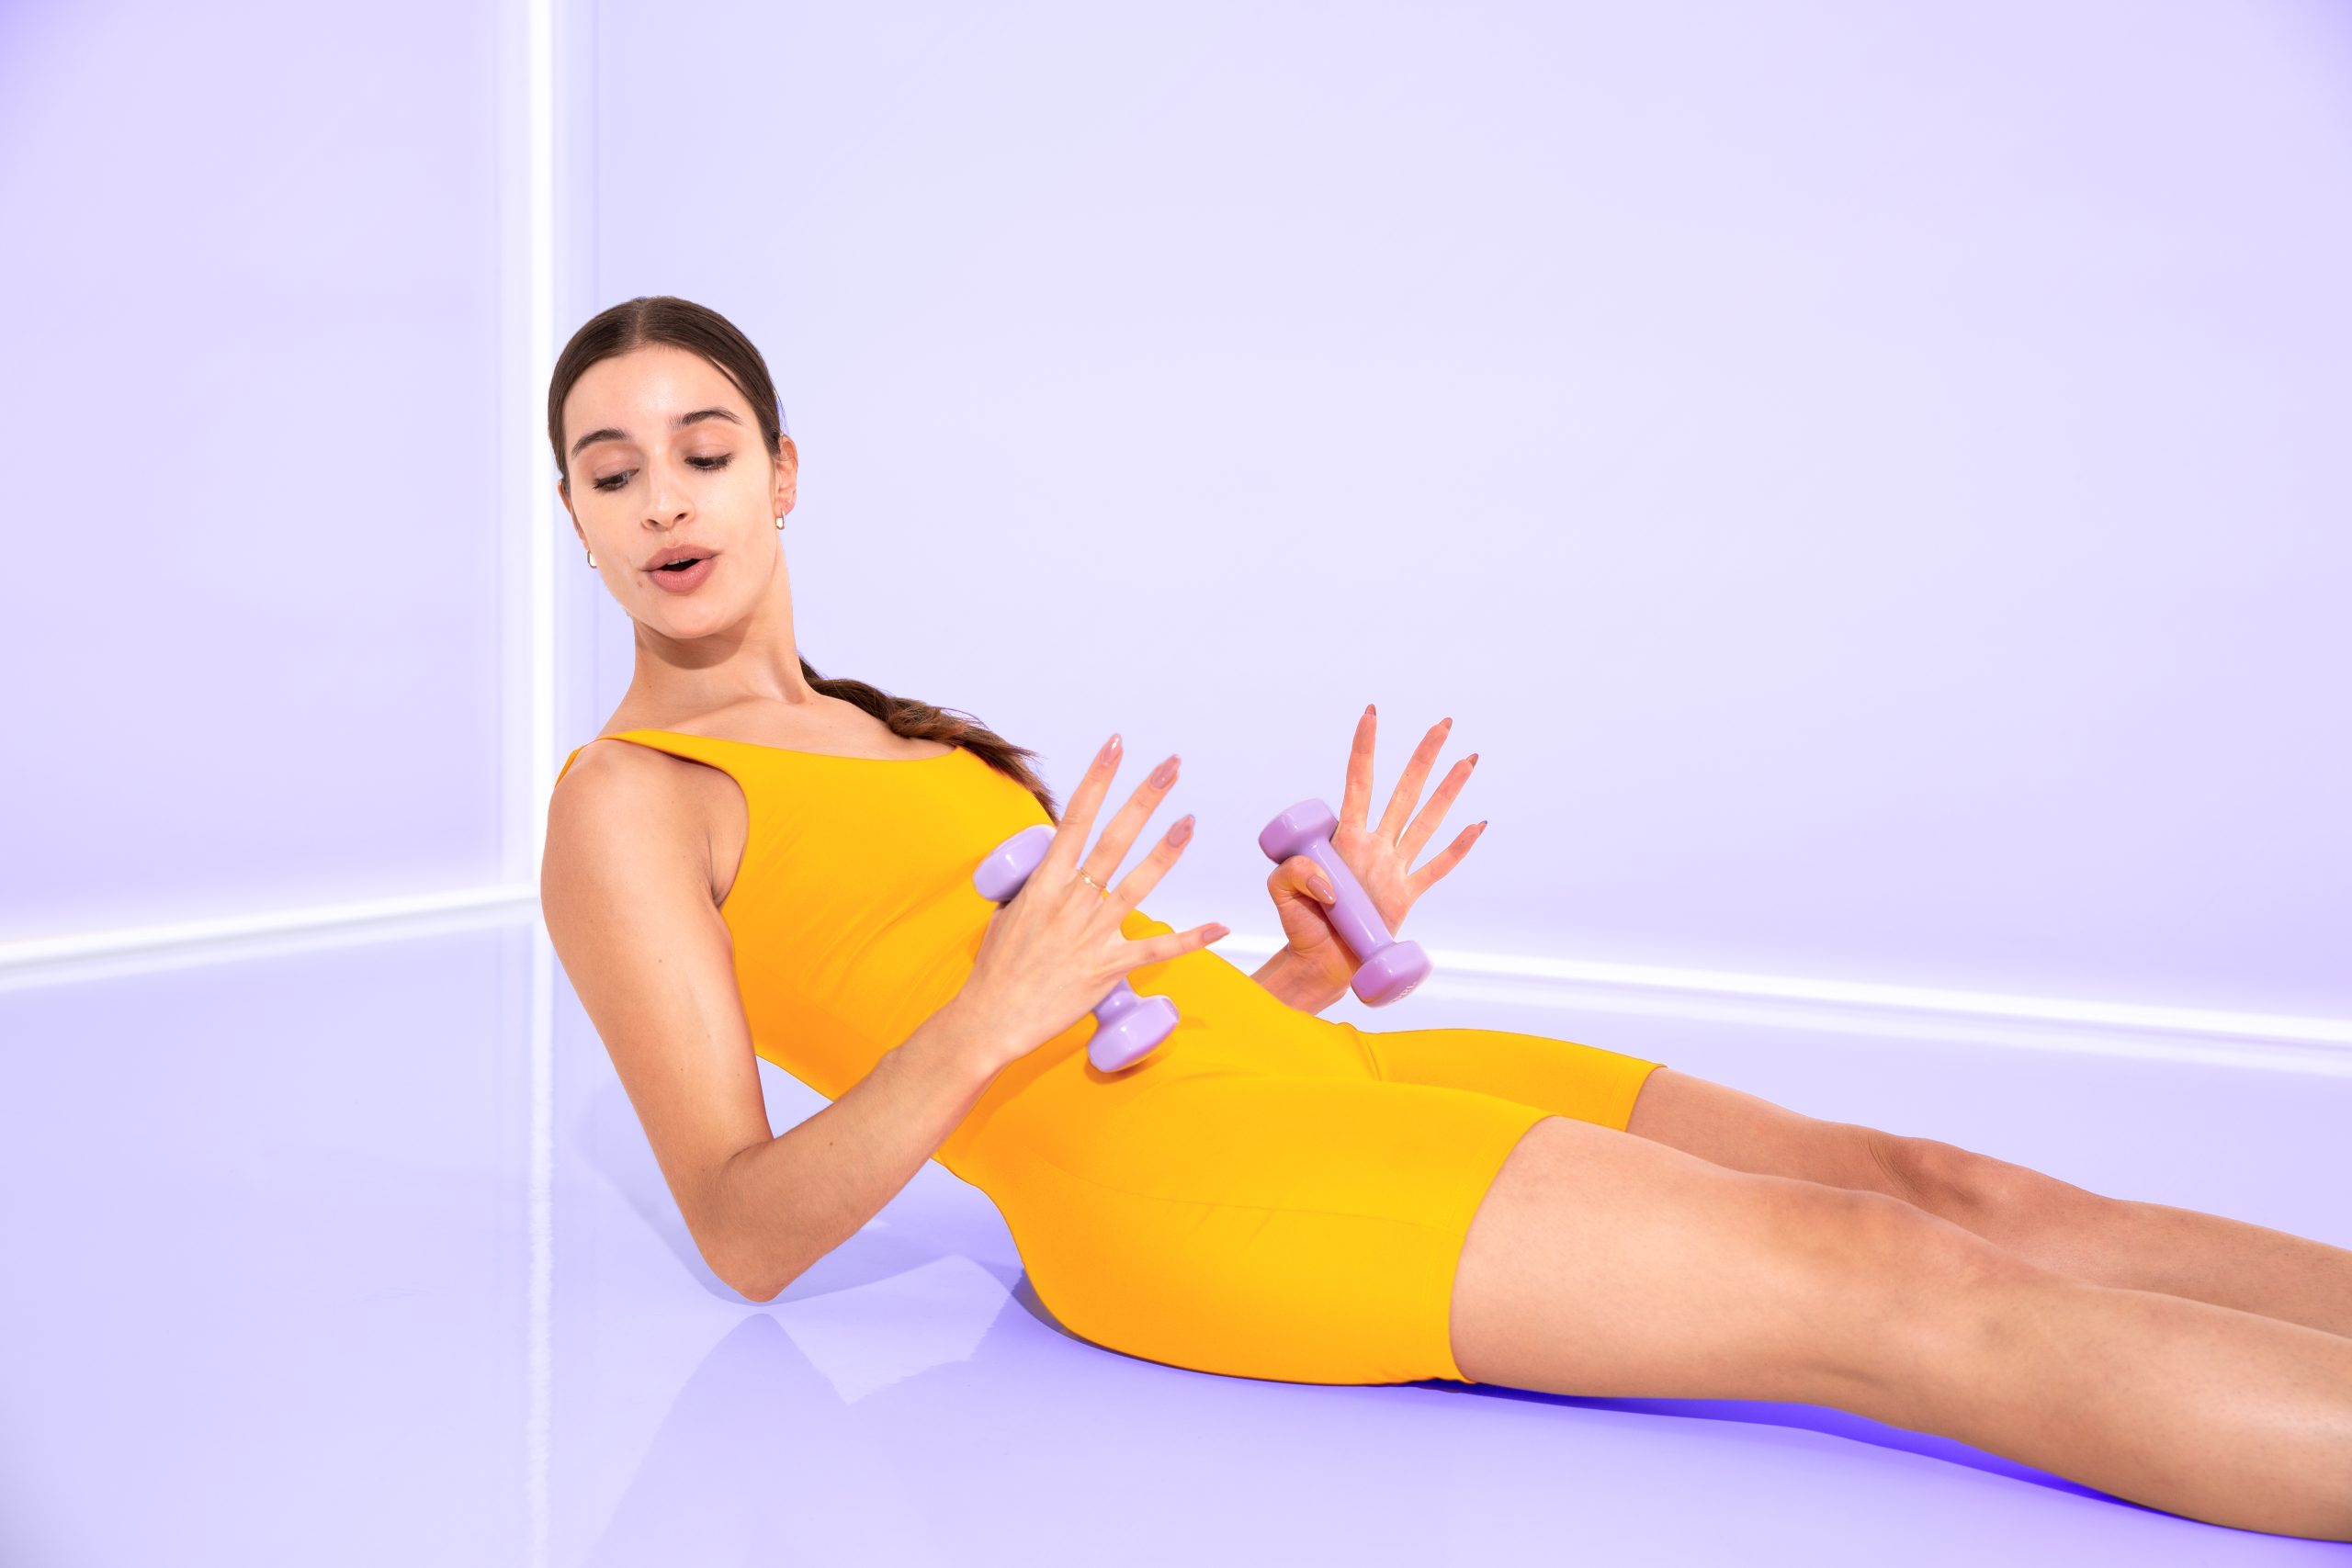
- Start without the rope: Get into the rhythm with just your bodyweight or a very light set of hand weights. By the time you pick up the rope, you’ll be more comfortable with the new motions.
- Jump small: Remember, it’s not about jump height, it’s about jump speed. “You want to think about making your jump as small as possible, just enough to clear the floor and let the rope pass underneath your feet.” (Hence why this is actually a low-impact option!)
- Go for Express: Ease your way in with a 10-minute Express class—even a bite-sized Jump workout will be a lot for your legs. “Your calves will probably be sore the next day, and that’s normal. It’s just your body getting stronger and used to new movements,” Melody says.
- Be patient: If you fall out of the choreography, shake it out. “Jump rope is something where you have to have a bit of grace with yourself,” says Melody. “It’s going to be different every time you do it. Some days, you’ll feel like you’re nailing it—other days you’ll trip every other hop.” Nailing the coordination and rhythm comes with practice, so know that mistakes are just part of the process.
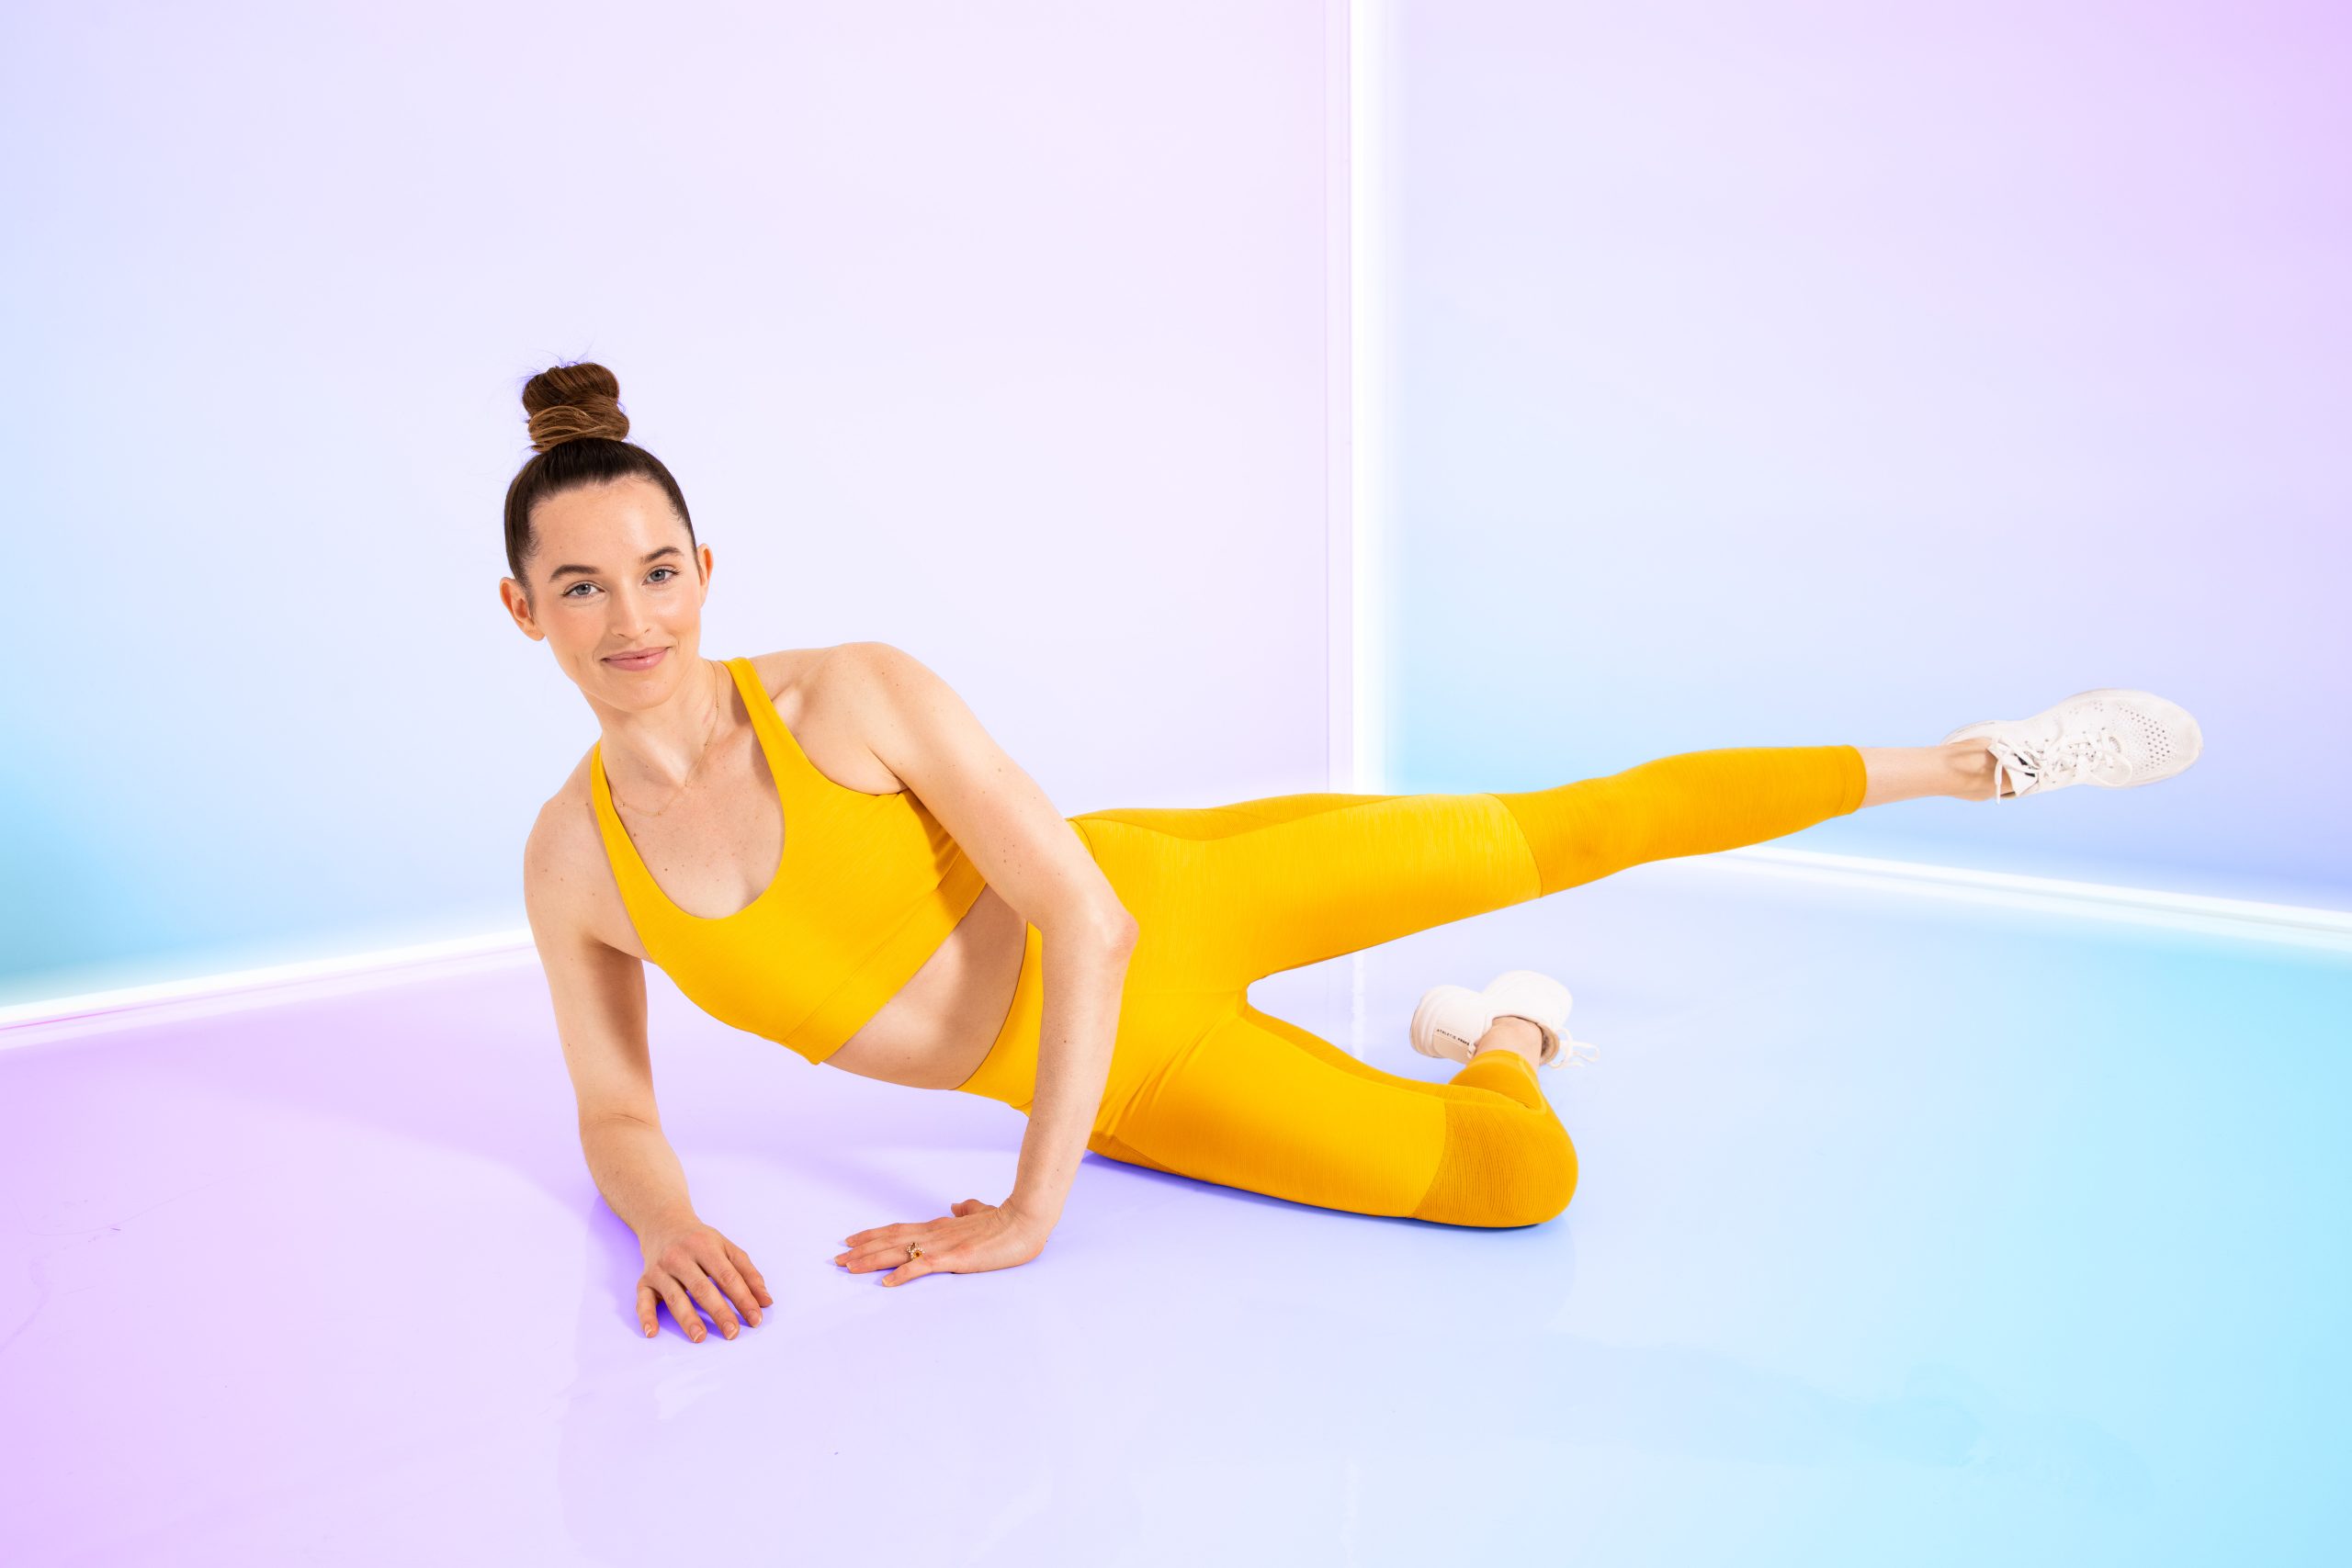
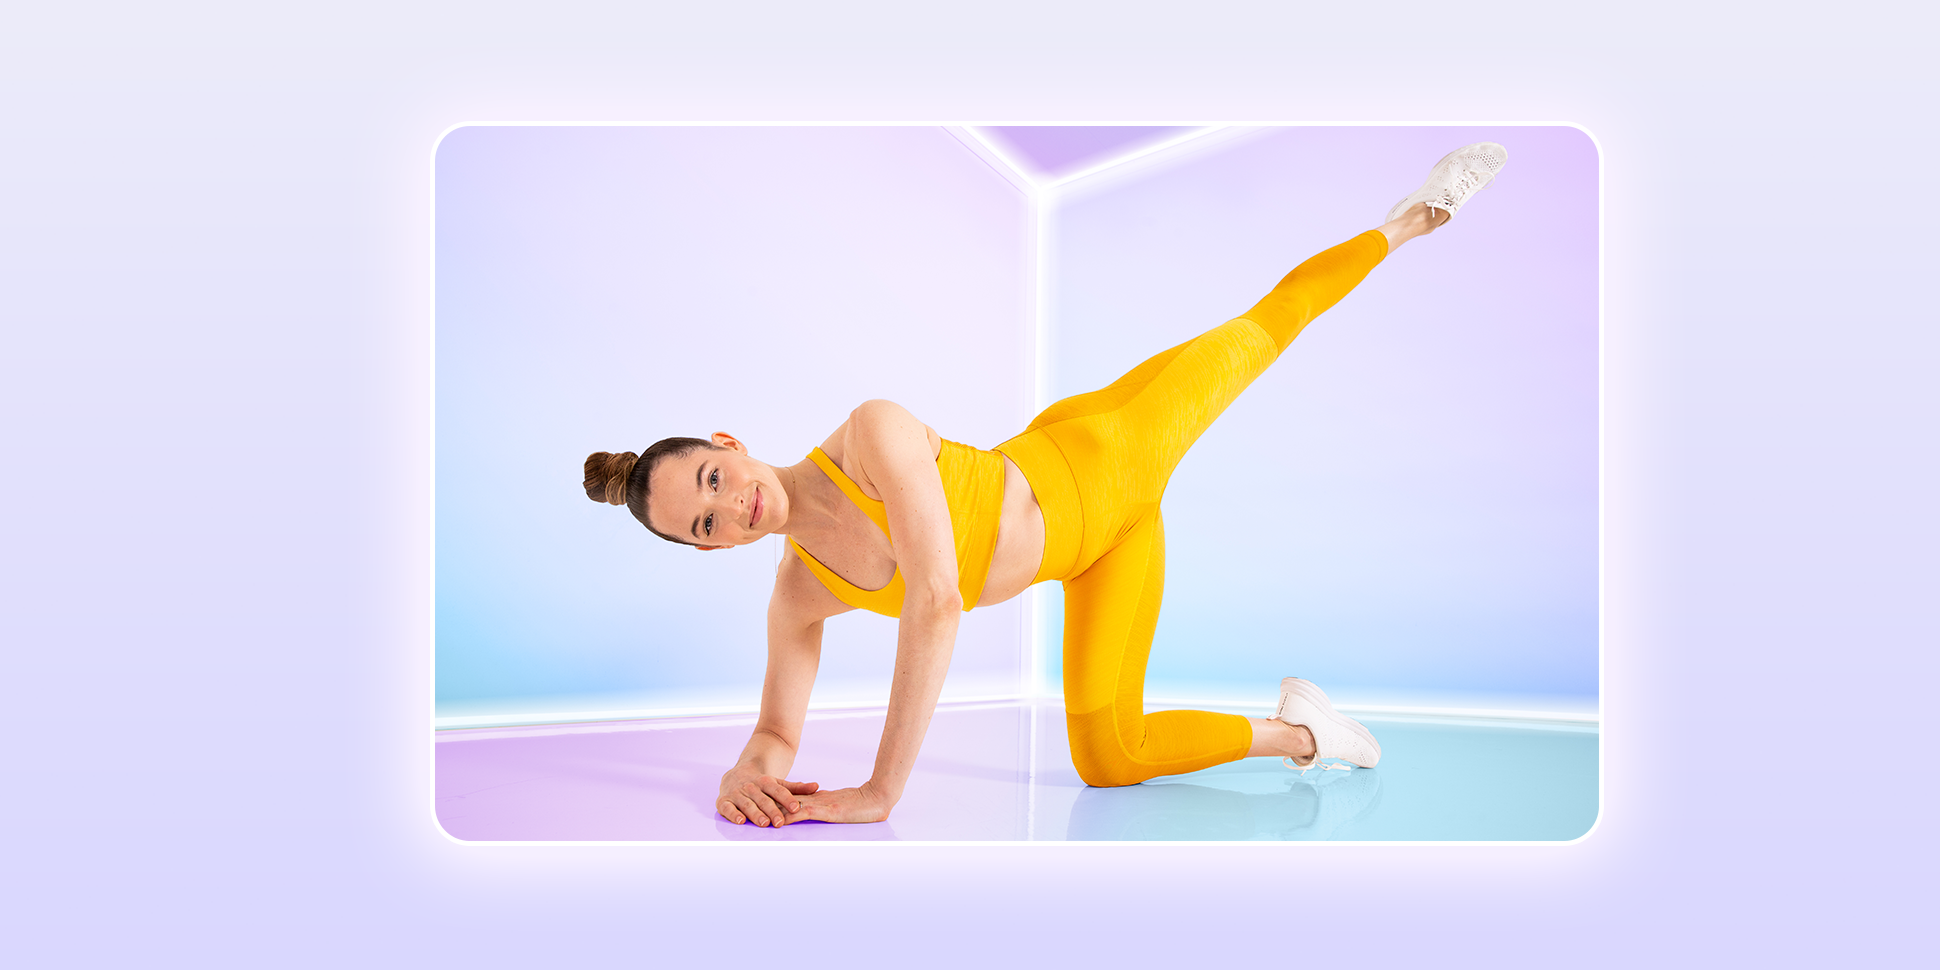
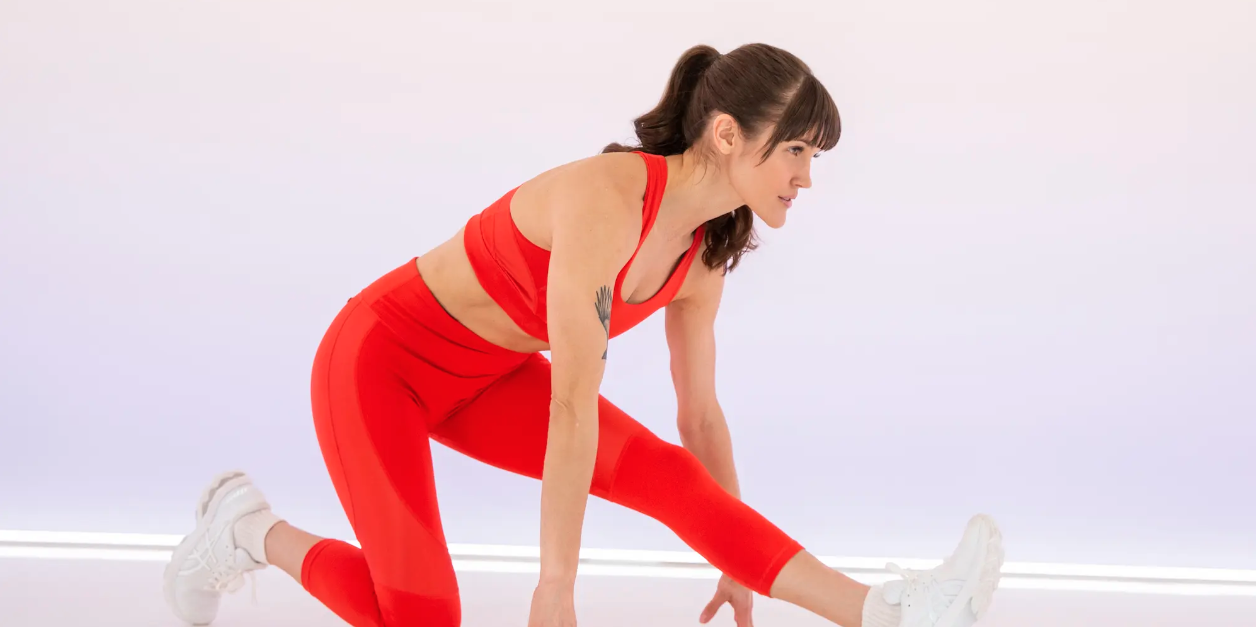
How to Nail Your Form
After you’ve set up your rope, you can start to perfect your technique—and this is where the fun really begins. “I love that there are so many ways you can keep playing with the rope, and so many skills to develop,” says Melody. “You can always continue improving and never really plateau with the rope.” From your toes to your gaze, here’s how to go for tip-top shape:
- Stay on the balls of your feet: Never jump with your feet flat or heels down. Keep a soft bend in your knees and challenge yourself to land as quietly as you can (float like a butterfly, sting like a bee).
- Hinge at your hips: No need to pop the booty back, but keep a slight lean in your posture and make sure you’re bracing your abdominals (this will come naturally if you’re on the balls of your feet).
- Keep your arms by your side: Make a 90-degree angle at the elbows, keep a straight line from the elbow to the wrist, and leave two inches of room between the arms and the body.
- Chest up, gaze forward: Avoid letting your eyes drift to the ground! Keep your eyes and chin forward to stay focused.


Leave a Reply